How to Build a Floating Shelf in Just 5 Easy Steps
Why Most Floating Shelf Guides Don’t Work
Many floating shelf guides skip the real problems people face while building at home.
They often leave out how to handle uneven walls, missing studs, or weight support.
Because of this, people end up confused and unsure about what steps actually matter.
Some tutorials use technical language or skip small but important details.
Things like how to anchor the shelf safely or how to finish the edges neatly are often missing.
Most guides also do not explain weight limits clearly, causing people to overload the shelf.
This leads to shelves that tilt, sag, or fall because they were not installed correctly.
You need instructions that break down every step, remove confusion, and keep your shelf sturdy.
A guide that explains mistakes and shows how to fix them helps you build with confidence.
What You Need (Tools & Materials)
You will need simple tools like a drill, stud finder, tape measure, pencil, and a level.
A handsaw or power saw will help you cut the wood, and sandpaper smooths the edges.
Having everything ready before you begin will make the work easier and faster.
For materials, choose a shelf board that matches your space and the bracket you plan to use.
Use screws that fit your bracket and heavy-duty wall anchors if you cannot attach to a stud.
Wood filler, stain, or paint will help you create a smooth and finished look.
Lay out each item before starting your project.
This prevents you from stopping halfway to look for something you forgot.
When everything is organized, the whole process becomes simpler and stress-free.
Step-by-Step: Building Your Floating Shelf
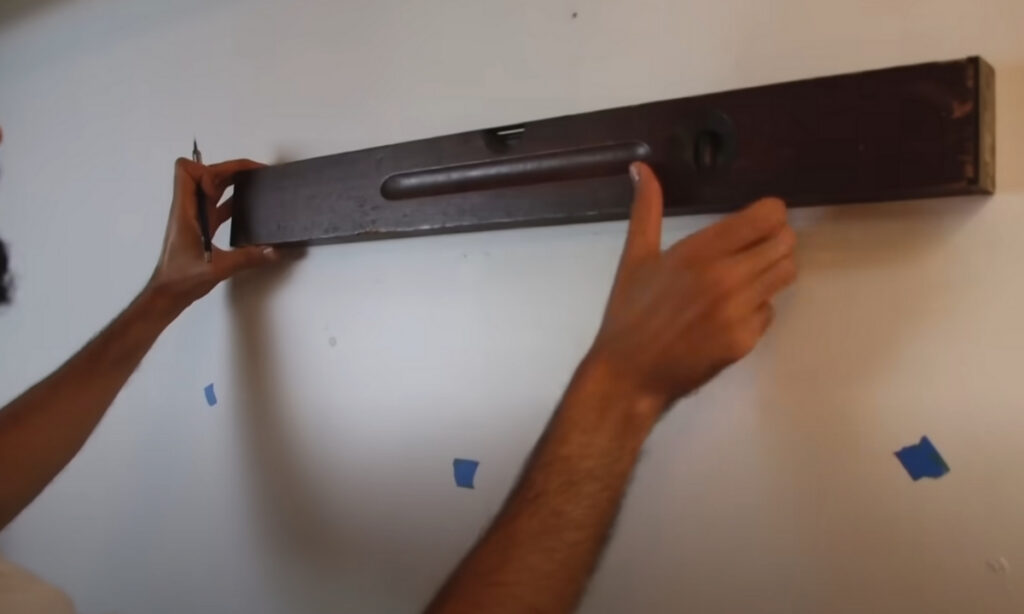
Step 1: Measure and Mark
Decide where the shelf should go and measure the height and width of the space.
Use a pencil to mark the points clearly so you know exactly where to install the shelf.
A level will help you draw a straight line so the shelf stays even.
Use a stud finder to locate the studs behind the wall.
Mark each stud to guide where your screws should go later.
This will help your shelf stay secure and hold more weight.
Make sure the line is straight before moving on to the next step.
Small mistakes at this stage can make the shelf look crooked.
Double-checking now saves time later.
Step 2: Cut and Prep the Shelf
Measure the board to match the marks you made on the wall.
Cut the board carefully to match the size you want for your shelf.
Take your time so the edges stay clean and even.
Use sandpaper to smooth the edges and surfaces.
This helps the wood look polished and removes rough spots.
If you want a specific color, you can stain or paint the shelf now.
Let the paint or stain dry completely before installing.
A fully dry board prevents smudges or uneven finishes.
Preparing the shelf well now makes the final result look better.

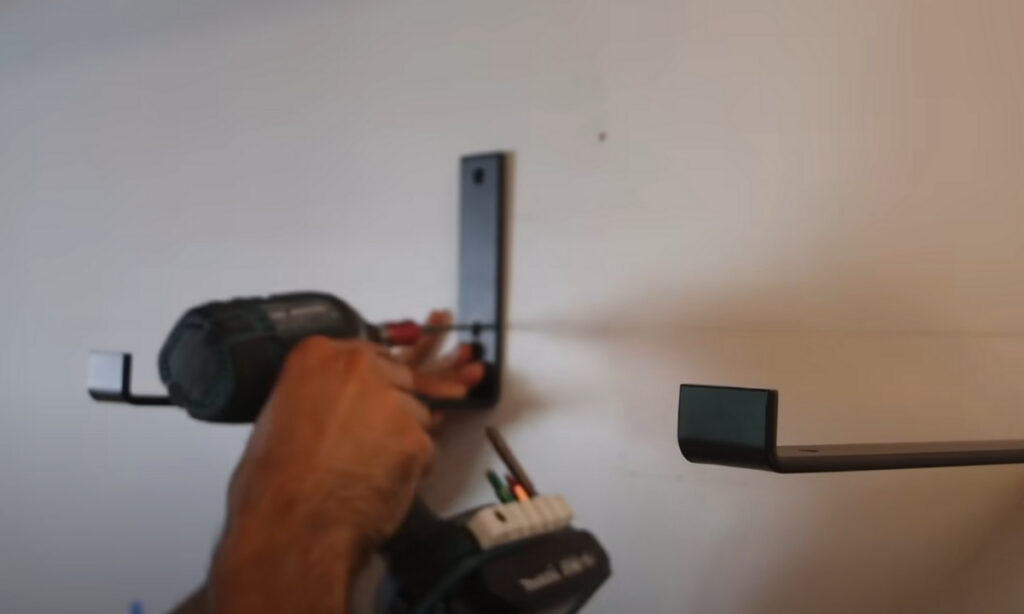
Step 3: Install the Bracket
Hold the bracket against the wall, matching it with your level line.
Make sure it aligns with at least one stud for stronger support.
Mark the screw holes so you know exactly where to drill.
Drill small pilot holes into the marks to prevent splitting the wall or wood.
If there is no stud, use strong wall anchors to keep the bracket secure.
Tighten the screws firmly so the bracket does not move or wobble.
Check the bracket again with a level before moving forward.
Even a small tilt can make the shelf uneven.
Adjust now if needed to avoid problems later.
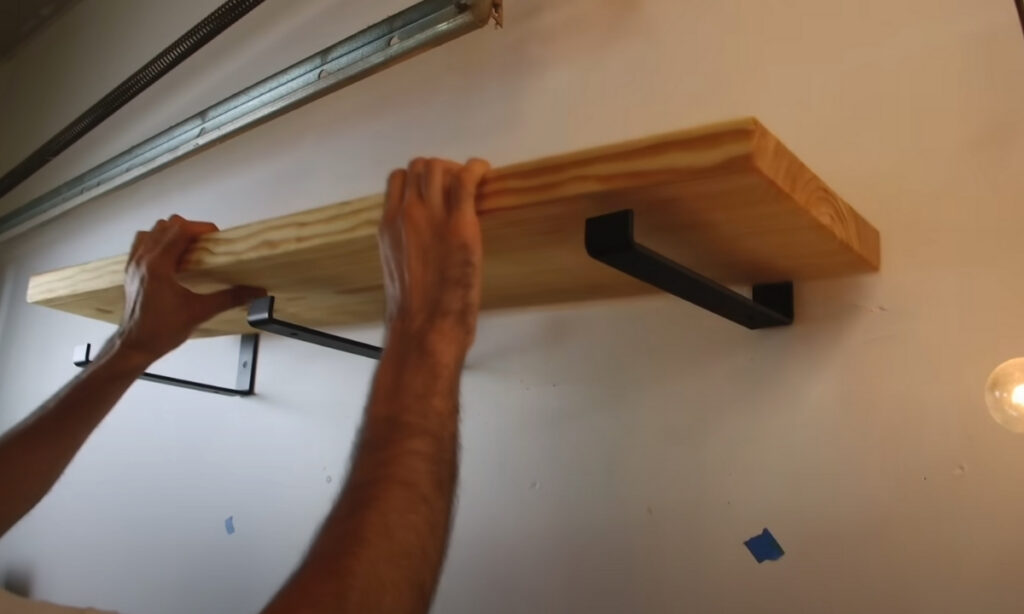
Step 4: Mount the Shelf
Slide the shelf onto the bracket or place it on top if using L-brackets.
Make sure the board fits evenly and does not shift.
Hold it steady while checking the alignment again.
Secure the shelf by adding screws from underneath or behind.
This keeps the shelf tight and prevents movement.
Work slowly to avoid splitting the wood.
Once attached, lightly pull on the shelf to test its strength.
It should feel firm and steady.
If it wiggles, tighten the screws again.
Step 5: Check and Finish
Place the level on top of the shelf and check that it sits straight.
Press down lightly to see if anything moves.
A tight and even shelf ensures better long-term support.
Fill any visible screw holes with wood filler for a clean finish.
Once dry, sand lightly for a smooth look.
Touch up paint or stain if needed to match the rest of the board.
Your shelf is now ready to use.
Avoid overloading it and follow the bracket’s weight limit.
This will help the shelf last longer and stay secure.
Common Issue During DIY Floating Shelf
1) Can’t Find Studs
If there is no stud where you want the shelf, use heavy-duty wall anchors.
Toggle bolts or similar anchors hold more weight when studs are not available.
For longer shelves, adding another bracket helps balance the load.
2) Shelf Leveling Issues
If the shelf is not level, adjust the bracket before drilling.
Recheck your line and move the bracket slightly until it matches the level.
For small uneven areas, thin shims can fix the tilt.
3) Loose Shelf
A loose shelf usually means screws are not tight or anchored well.
Make sure at least one screw connects directly to a stud.
If the bracket still moves, use longer screws or stronger anchors.
4) Gap Between Wall & Shelf
Small gaps can be filled with wood filler or clear caulk.
This makes the shelf look clean and flush with the wall.
For bigger gaps, use painted wood shims that match the shelf.
5) How to Hide Visible Screw Holes
Wood filler works well for hiding screw holes on the shelf surface.
Sand and repaint once it dries to blend it in.
If the bracket itself shows, use decor to cover it or choose hidden brackets next time.
6) How Many Brackets
A sagging shelf means it needs more support or the board is too thin.
Add a center bracket for long shelves so weight spreads evenly.
Make sure none of the brackets or anchors show signs of stress.
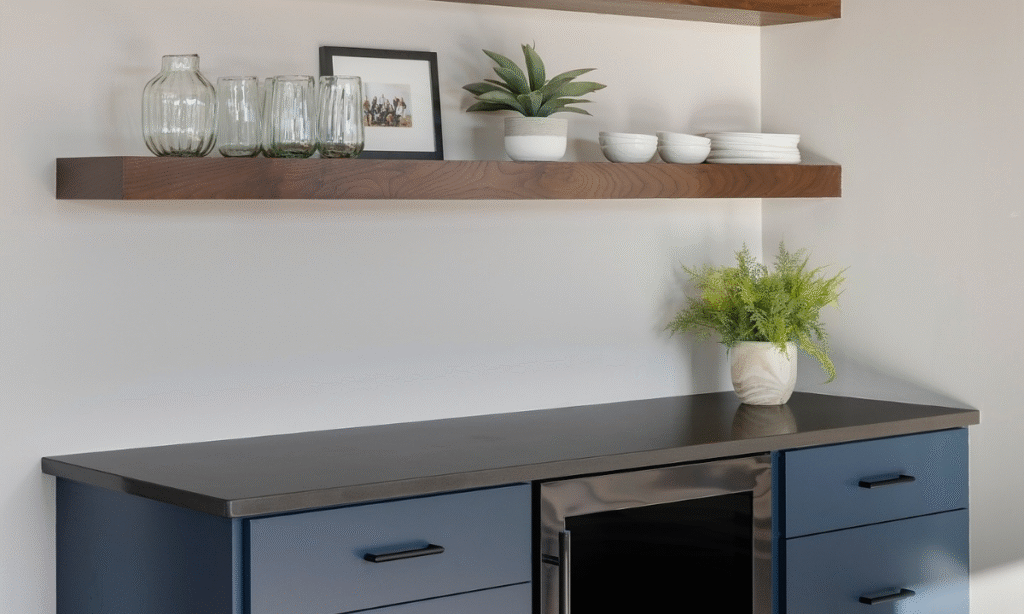
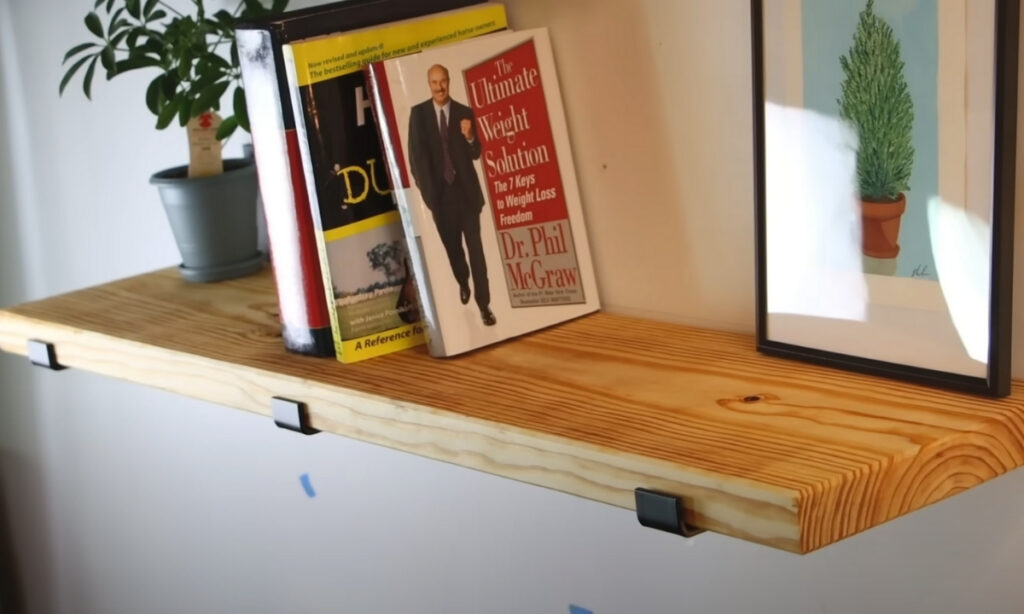
Styling and Maintenance Tips
Keep your shelf looking neat by avoiding clutter.
Mix books with small items like candles, plants, or frames for balance.
Leaving empty space helps the shelf look clean and organized.
Choose matching colors or materials for a modern style.
For a cozy look, add textured items like baskets or pottery.
Simple decorations make the shelf stand out without feeling crowded.
Dust the shelf regularly with a dry or lightly damp cloth.
Avoid soaking wood or MDF to prevent swelling.
If you remove the shelf later, fill the wall holes and repaint.
Conclusion of Build a Floating Shelf
Building a floating shelf is simple when you follow clear steps.
With the right tools, careful measuring, and strong anchors, the shelf stays secure.
Taking your time helps you avoid mistakes and get a clean finish.
Always check your work, especially the bracket and screws.
A well-installed shelf will stay straight and hold weight safely.
With a little care, your floating shelf will last for years.