14 DIY Bracelets With String Ideas for 2025

Have you ever cut a piece of string to make a bracelet, only to find it is too short before you finish? Or maybe you completed the bracelet, but the edges curl up and will not lay flat.
These problems can make you want to stop trying. It is frustrating when knots are uneven or the ends will not stay tied.
I have also faced these issues while working with tangled string. The good news is that it is not your fault. Many guides forget to share the small details that make a big difference.
This article will show you the real steps and tips to make beautiful string bracelets that actually work.
What String Should You Use?
The first mistake many people make is choosing the wrong string. If you pick something like yarn or thin thread, your knots will not hold their shape.
The bracelet will look messy and might fall apart. If the string is too thick, it becomes hard to tie and weave.
This is why your choice of string is the most important decision. For classic friendship bracelets, embroidery floss is the best option. It is cheap, easy to find, and comes in countless colors.
If you like a natural and earthy style, hemp cord is a great choice. It is strong and easy to work with.
For DIY Bracelets With String that you can wear every day and even in the shower, waxed polyester cord is the best. It is durable and water-resistant.
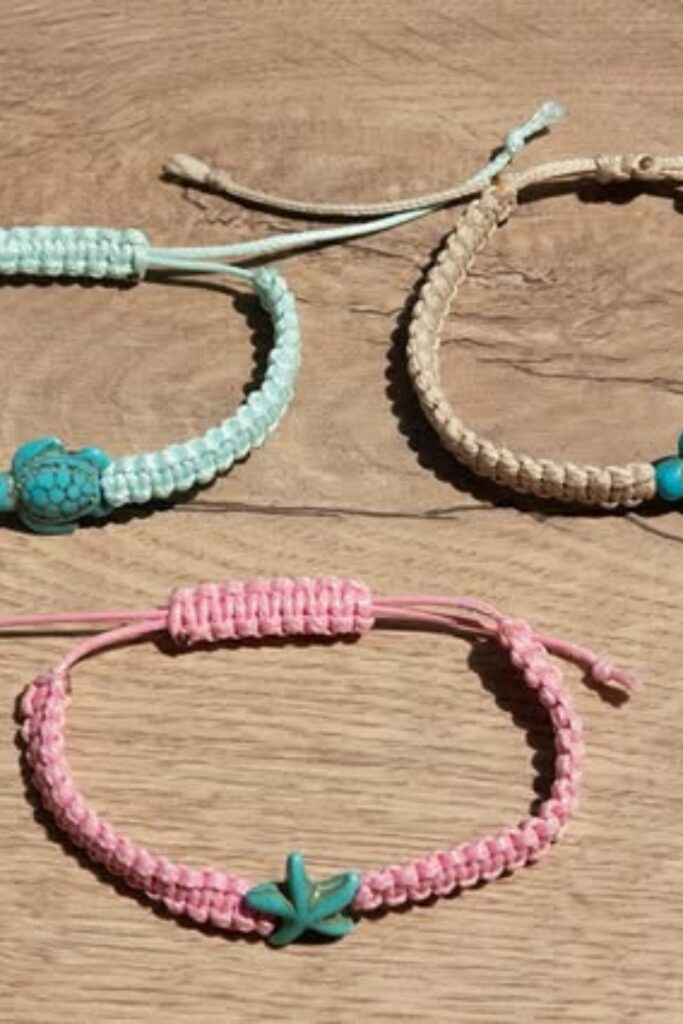
Mix Bold Beads with Simple String
This style is perfect when you want a bracelet that is colorful but still easy to wear. The key is to use large, bright beads on a strong waxed cord.
Add a few metallic or pearl beads between the colorful ones. This keeps the design balanced and not too busy.
Make an adjustable sliding knot at the ends. This lets the bracelet fit any wrist size. Group your beads by color in small sections for a neat and tidy look.
Keep It Minimal with a Single Accent Bead
Sometimes, a simple design is the most beautiful. This idea uses a single, special bead as the main focus.
You can use a bead with a unique shape or a pretty color. The rest of the bracelet is just a simple string.
This makes the one bead really stand out. It is a very easy and quick bracelet to make. You only need one bead and a piece of string.
It shows that you do not need a lot of supplies to create something lovely.
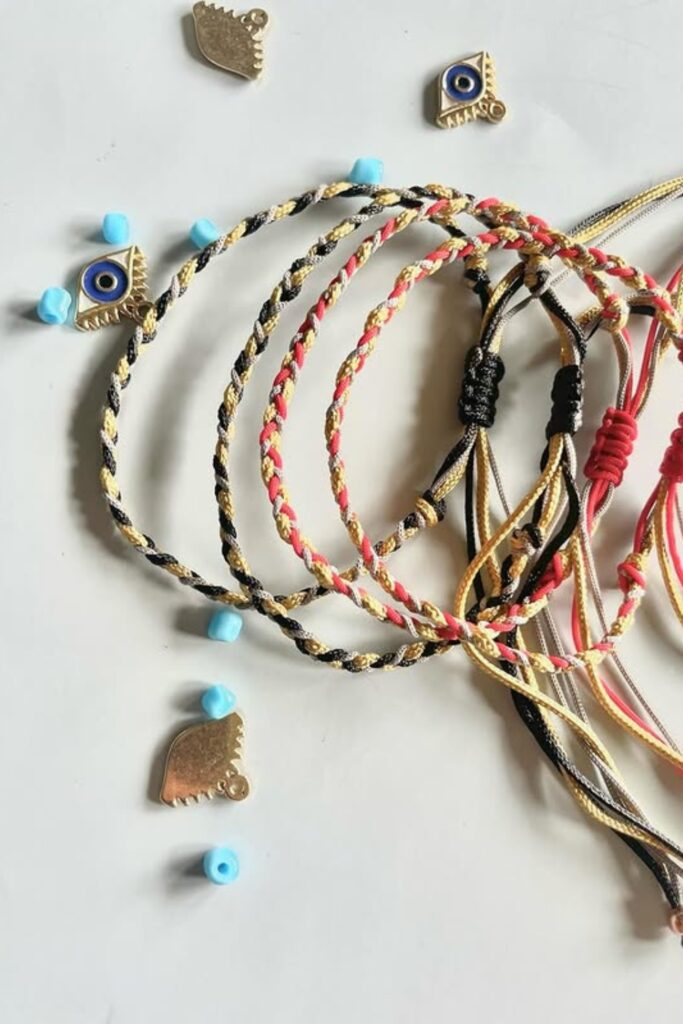
Twist Colors for a Bold Everyday Look
You can make a stylish bracelet without any complicated knots. Just take two or three strings in different colors.
Good combinations are gold and black, or red and white. Twist the strings together tightly until they start to curl.
Then tie a knot at each end to hold the twist in place. You can add a sliding knot to make it adjustable. Or you can attach a small charm to give it a personal touch.
This is a very fast project with a big impact.
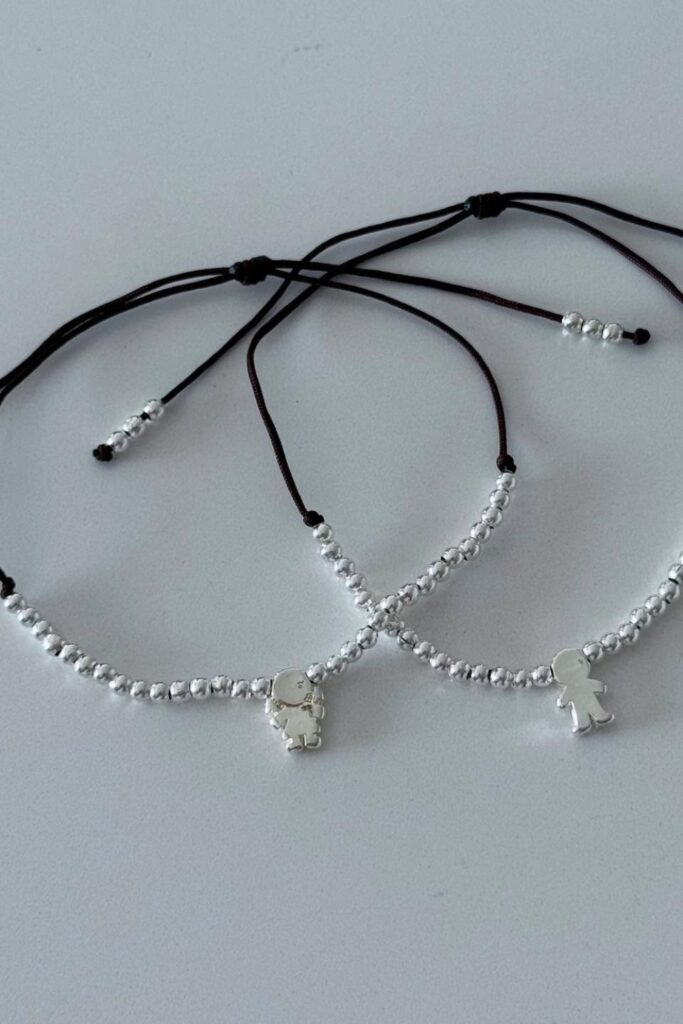
Add a Charm for a Personal Touch
Make your bracelet more meaningful by adding a special charm. A small charm can represent something you love.
It could be an animal, a symbol, or an initial. Use a strong black cord and some small silver beads.
Thread the beads onto the cord and leave a space in the middle for your charm. The charm becomes the centerpiece of the bracelet.
This turns a simple string bracelet into a personal piece of jewelry.
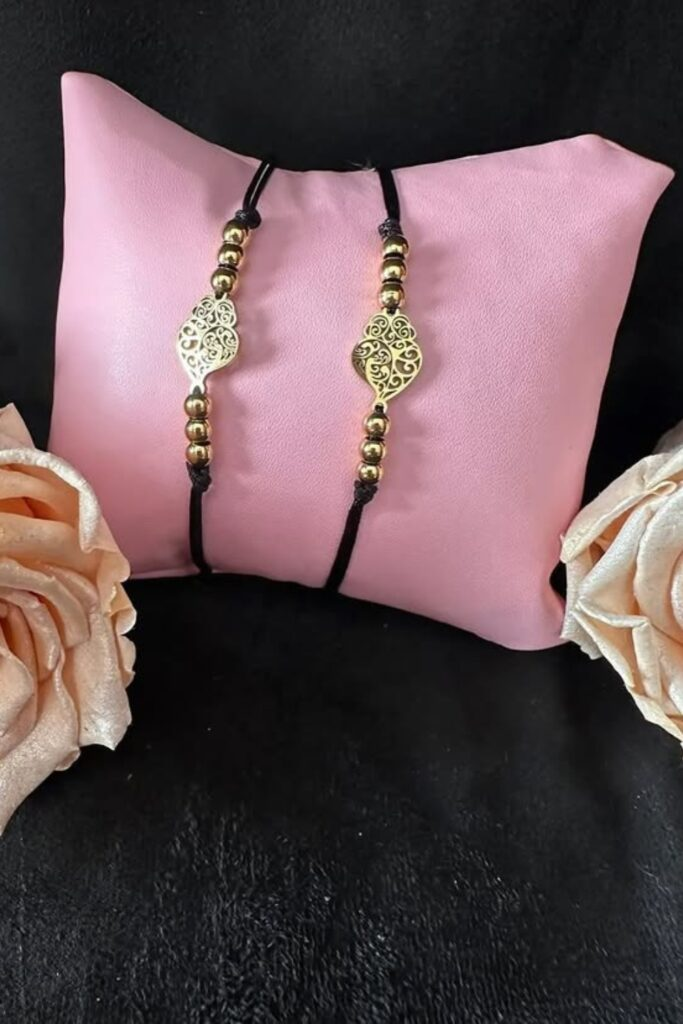
Use Metallic Beads for a Luxe Finish
If you want a bracelet that looks more expensive, try using metallic beads. Gold or silver beads can make a simple design look fancy.
Use a black cord to make the metallic beads really shine. Place four or five beads on each side of a central charm.
Finish the ends with sliding knots so the bracelet is easy to put on and take off. This design is perfect for adding a touch of elegance to your outfit.
Add Seashells for a Boho Vibe
Bring a relaxed, beachy feeling to your jewelry with a seashell bracelet. A small cowrie shell makes a perfect natural centerpiece.
Combine it with a golden tassel and a few metal beads for extra texture. Use a waxed cord in an earthy color like brown or tan.
Thread the shell onto the center of the cord. Tie knots on both sides of the shell to hold it securely in place. This bracelet is ideal for summer or vacation.

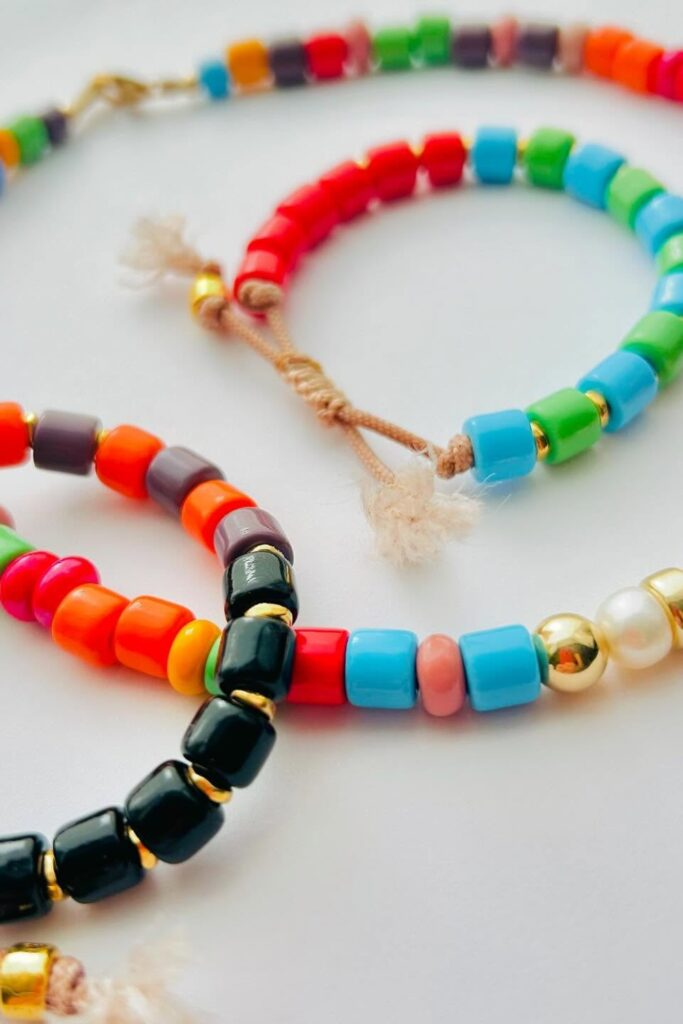
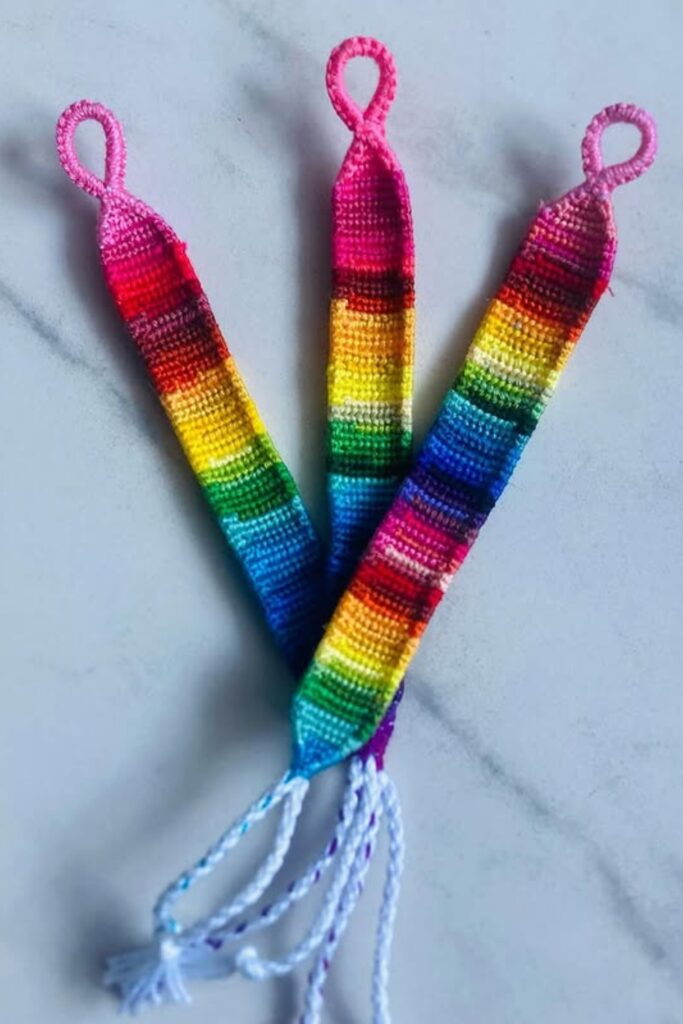
Go Bold with Rainbow Patterns
A rainbow bracelet is a joyful and bright accessory. You can make one using embroidery floss in many different colors.
Knot the strings together row by row to create solid stripes of color. The colors can blend into each other like a real rainbow.
This wide, colorful band is great for pride events, music festivals, or just for fun. It also makes a wonderful gift for a friend.
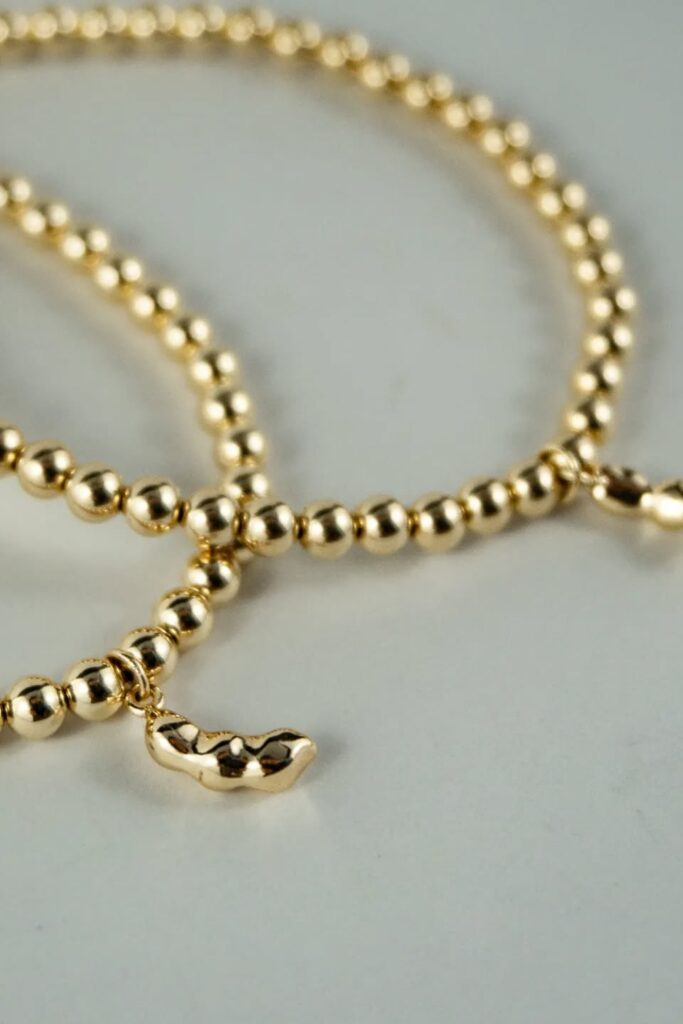
Keep It Classic with Gold Beads
You can never go wrong with a classic design. A bracelet made with small, uniform gold beads is always in style.
String the beads closely together on a strong thread. You can add one tiny charm in the middle for a little personality.
This bracelet looks clean and polished. It is perfect for wearing every day. You can also wear it with other bracelets or give it as a gift.
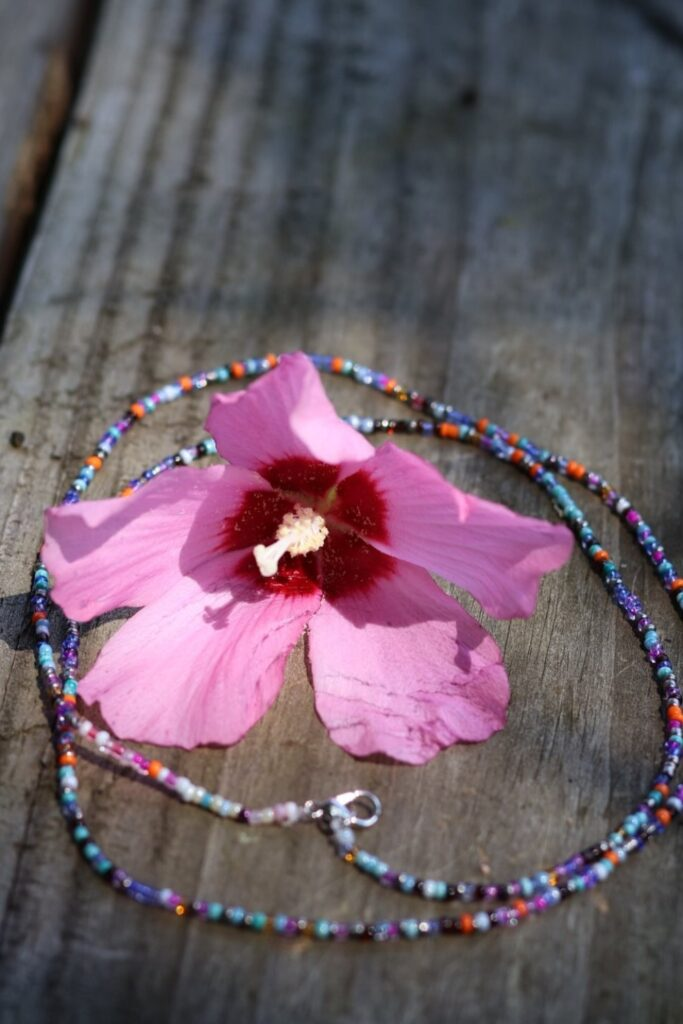
Create a Delicate Look with Seed Beads
For a lightweight and delicate bracelet, try using seed beads. These are very tiny glass beads that come in many colors.
String them onto a fine beading wire to create a thin, flexible band. Use a lobster clasp to close the bracelet neatly.
This gives it a professional finish. You can wear this delicate bracelet alone for a subtle look. Or you can layer it with thicker bracelets for a mixed style.
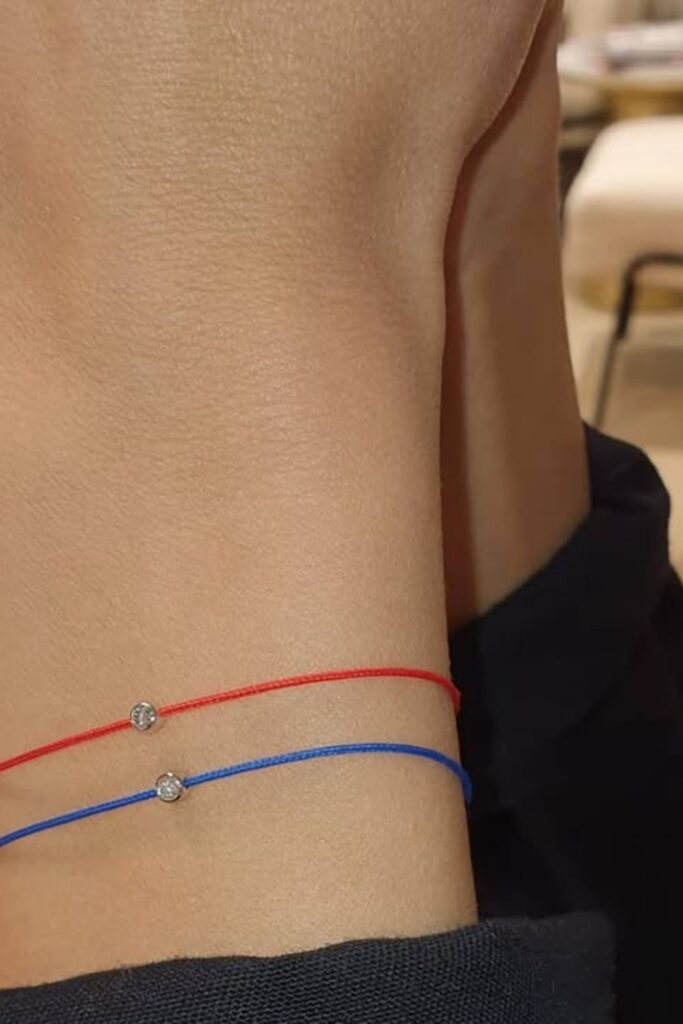
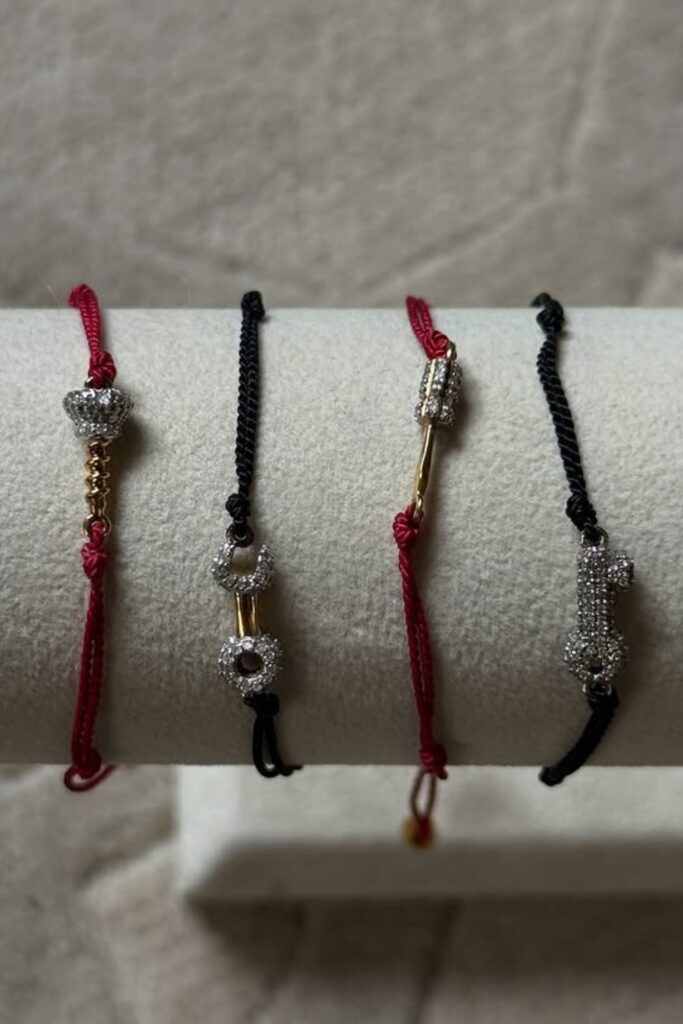
Highlight the Centerpiece with Contrast String
If you have a special charm, you can make it the star of the bracelet. Use a simple string in a solid color that makes the charm stand out.
For example, use red and black cords with a silver charm. The dark colors will frame the charm and make it pop.
Attach the charm securely using macramé knots or square knots. Finish the ends with sliding knots for an adjustable fit.
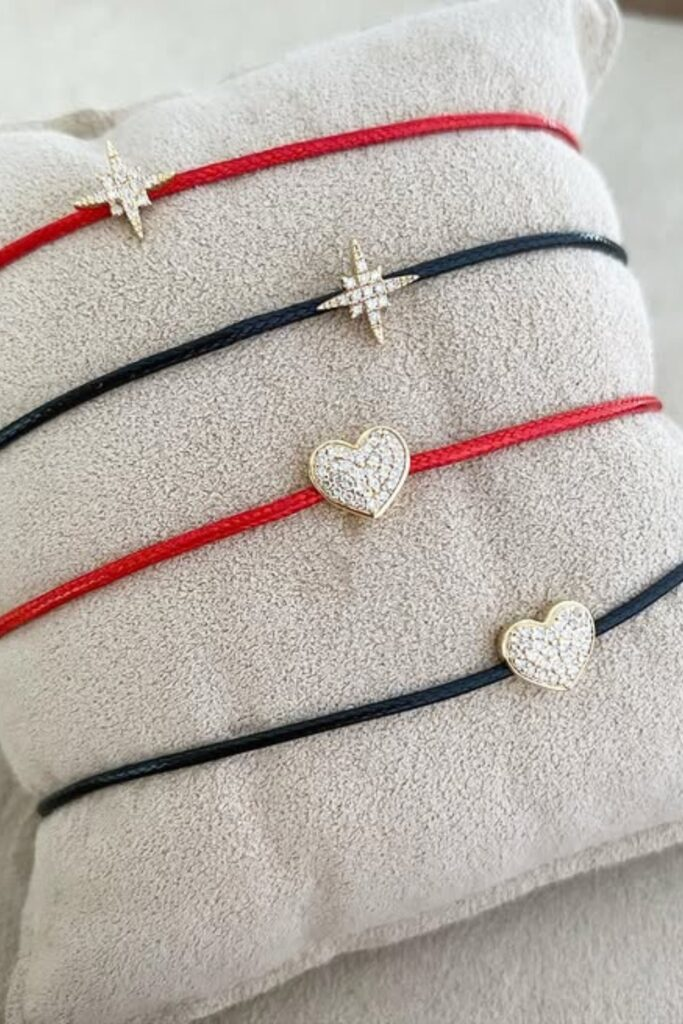
Keep It Chic with Simple Symbols
A simple symbol can say a lot. This idea uses a single charm on a plain cord. The charm could be a heart, a star, or any shape you like.
Use red and black strings for a bold look. The simplicity of the design makes it very elegant.
It is perfect for daily wear. You can also make matching versions for you and your friends.
Try Macramé Knots with Cute Charms
Macramé is a fun way to create a textured bracelet. It uses basic knots to make a woven pattern.
You use two cords as the base and a third cord to tie square knots across them. Place a cute charm, like a starfish, in the center as you knot.
Keep tying knots until the bracelet is long enough for your wrist. This technique looks complicated but is actually quite easy to learn.
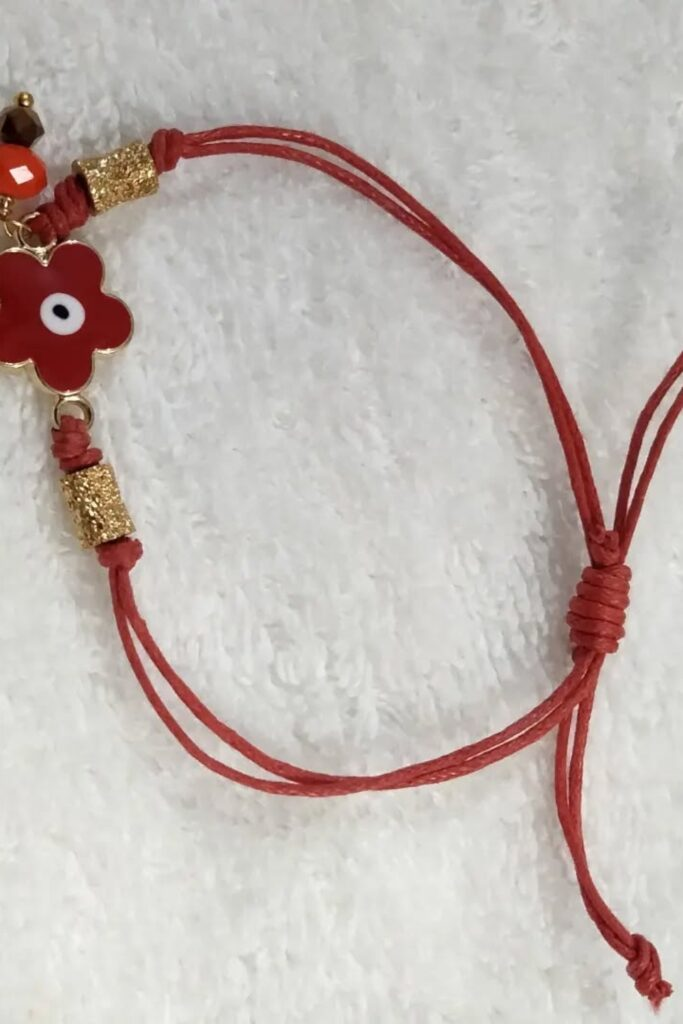
Add a Floral Charm for Playful Style
A floral charm can make your bracelet feel happy and playful. Choose a flower charm in a bright color like red.
Pair it with a matching red cord. Add a few gold spacer beads on both sides of the flower to add some sparkle.
Use sliding knots at the ends so you can adjust the size. This bracelet is perfect for adding a pop of color and fun to your look.
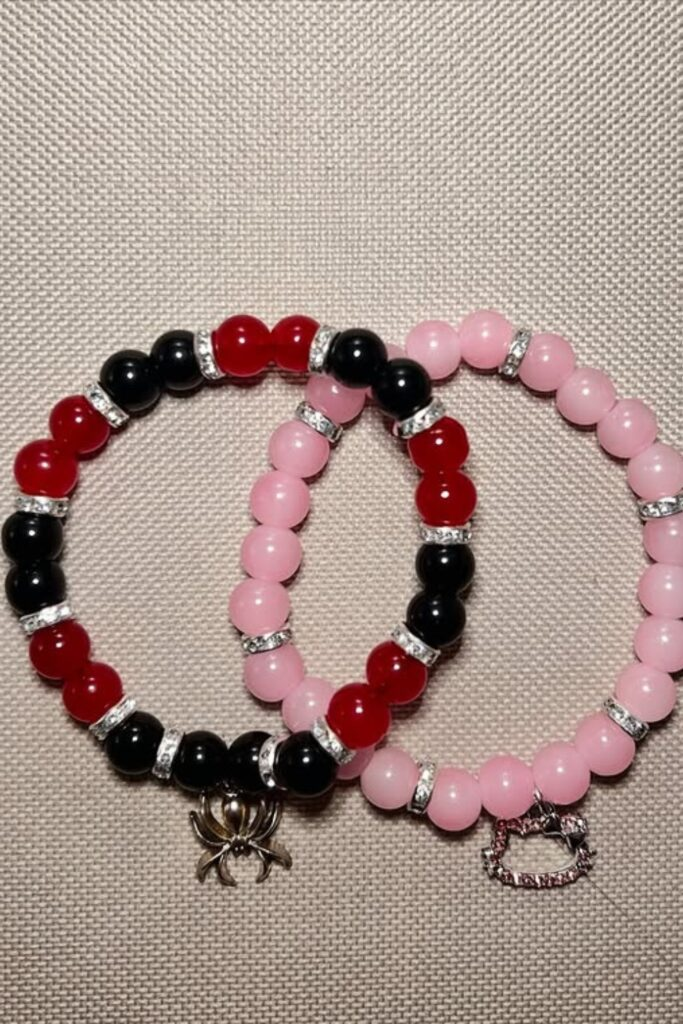
Play with Color Blocking and Charms
Color blocking means using solid sections of different colors. This creates a modern and bold look.
Use beads in bright colors like red, black, and pink. Arrange them in repeating sections on a stretchy cord.
Add rhinestone spacers between the colored beads for extra shine. Tie a strong knot to close the bracelet and hide the knot inside a bead.
This makes the finish look clean and professional.
FAQS
How do I stop my string bracelet from fraying?
Fraying happens when the ends of the string are not sealed. You can easily prevent this.
Put a small drop of clear nail polish or fabric glue on the knots at the ends of your bracelet. Let it dry completely.
If you are using a nylon or polyester cord, you can carefully melt the ends. Briefly pass the end of the string near a lighter flame.
The heat will melt the fibers together and seal them. Be very careful not to burn the string or yourself.
How much string should I cut for a bracelet?
A good rule is to cut a piece of string that is three times the length of your wrist.
For most adults, this means each piece of string should be about thirty to forty inches long for a basic bracelet.
If you are making a wider bracelet with a pattern or braids, you will need to cut an even longer piece.
It is always better to have too much string that you can cut off later than to not have enough to finish your project.edle to see if that helps.