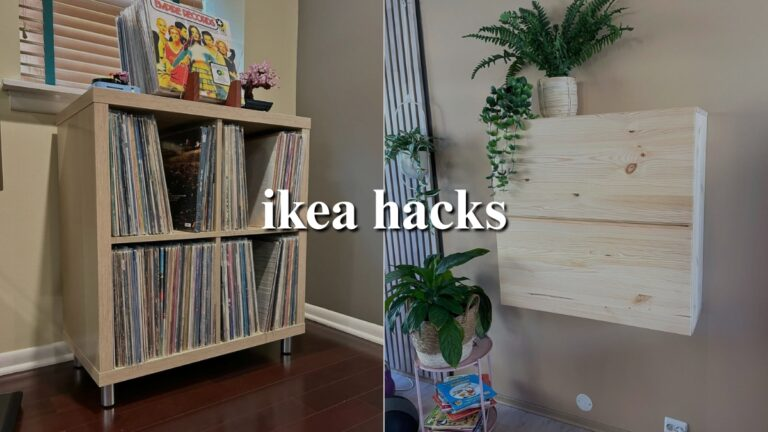
Why Everyone Is Hacking IKEA Furniture in 2025 – Here’s How You Can Try
IKEA furniture is known for being affordable and easy to find. But it often looks the same in every home. You have seen the same shelves and tables everywhere.
It works well, but it does not feel special or unique. You might need more storage than a standard piece offers. Your space might feel a little too plain.
You might just want to create something that feels like your own. And you want to do it without spending a lot of money or using complicated tools.
This guide is here to help you do exactly that. It has simple IKEA hacks for people just starting out. It lists the tools you really need to Hacking IKEA Furniture in 2025 .
It also points out common mistakes to avoid. It gives you smart tips that many other guides forget to include.
Why IKEA Hacks Are So Popular Right Now
People love hacking IKEA furniture because it fixes several problems at once. The furniture is affordable, which is great when you are on a tight budget.
It is also simple to put together. You do not need special tools or skills to assemble it. Most pieces have very clean and basic shapes.
This makes them incredibly easy to change and customize. You can paint them, turn them upside down, or add new legs. You can make them into something completely new.
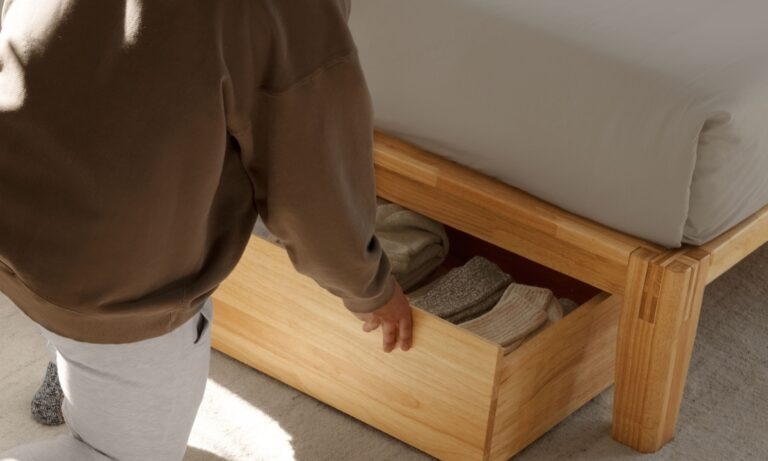
Another big reason is the size of modern homes. Many people live in small apartments or shared spaces.
IKEA hacks help you create smart storage solutions. You can make furniture that does more than one job. You can make a basic piece fit perfectly into a tricky corner.
Common Problems People Face with IKEA Furniture
A common issue is that IKEA furniture can look plain and ordinary once you get it home. It does not make your space feel special.
Many pieces are designed for just one simple purpose. They often lack extra storage or flexibility for your needs.
The standard design might not match your own personal style at all. It can also be hard to make standard furniture fit into small or awkward spaces.
Custom furniture is very expensive. IKEA hacks give you a way to get a custom look for a much more affordable price.
Tools and Materials You’ll Need
You do not need a huge collection of tools to start hacking IKEA furniture. The idea is to keep things simple and low-cost.
Here is a list of the items you will actually use for most projects. A simple screwdriver or a drill is very useful.
You need it to take parts off, add new handles, or attach new legs. Sandpaper or a sanding sponge is essential.
You use it to roughen up the smooth surface so that paint will stick to it properly. You will need paint and a special primer made for slick surfaces.
A paintbrush or a foam roller helps you apply smooth and even coats of paint without leaving brush marks.
Strong wood glue or construction adhesive is perfect for attaching new pieces of wood or trim. A measuring tape ensures your cuts and placements are accurate.
Small nails or screws are useful for attaching new parts or making the furniture stronger. Contact paper can quickly change the look of a surface.
New knobs, handles, or furniture legs can completely transform a piece with very little effort. Start with these basic items.
You will be ready to complete most beginner IKEA hacks without any trouble.
Most Hackable IKEA Pieces (And Why)
Some IKEA items are perfect for do-it-yourself projects. The KALLAX shelf is a great example. It has a strong cube shape that is very versatile.
You can easily turn it into a storage bench, a bookshelf, or a media center. Adding legs or a cushion is simple.
The IVAR system is made from real pine wood. You can sand it, stain it, cut it, or drill into it without any problems.
It works well for building cabinets or mudroom organizers. The BILLY bookcase is another popular choice.
It is lightweight and easy to cut or combine with other units. You can add doors, paint it, or even install lights inside.
The LACK table is very lightweight and affordable. It is perfect for a quick paint job or for covering with contact paper.
You can use it as a table, a shelf, or as a base for a bigger project. The RÅSKOG cart comes with its own wheels.
This makes it great for small spaces like kitchens or craft rooms. The HEMNES series is built with a solid wood frame.
This makes it strong and durable. You can easily change the knobs, repaint it, or modify it for more storage.
The BEKVÄM spice rack is a small and very affordable item. You can use it for books, bathroom items, or even as a small wall planter.
A little sanding and paint can make it fit into any room.
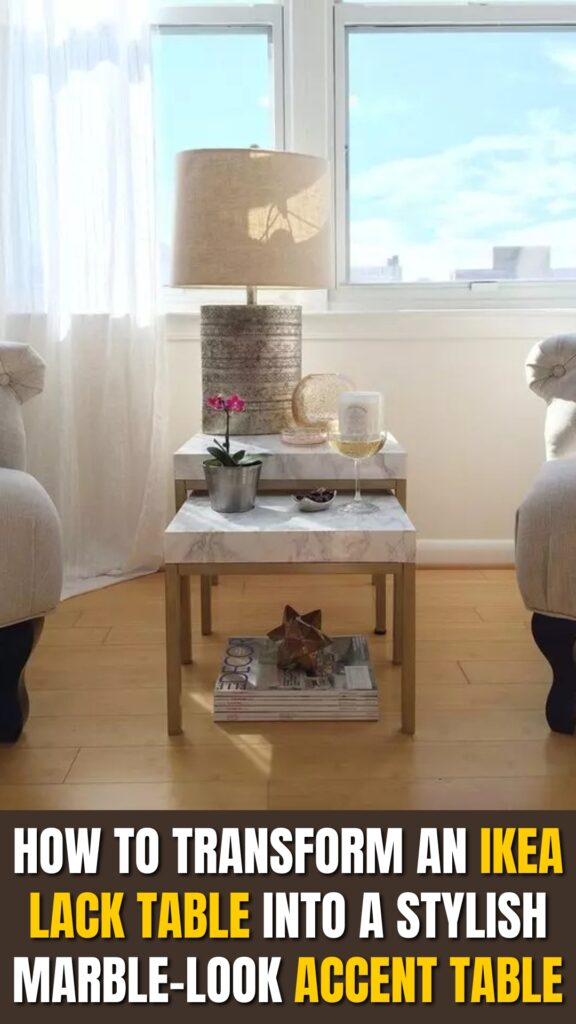
How to Transform an IKEA LACK Table Into a Stylish Marble-Look Accent Table
A basic IKEA LACK side table is affordable, but it can look cheap and boring. With a few easy steps, you can change that.
You can turn this budget table into a chic accent table that looks like marble. It will feel custom-made and stylish.
The best part is that you do not need any power saws or advanced skills to do this project.
What You Will Need
You need one IKEA LACK side table. You need a roll of marble-look contact paper. You need a can of matte black spray paint.
You will need a utility knife or a pair of scissors. You need a smoothing tool, like an old credit card.
You can also get new furniture legs or a decorative knob if you want to add extra style.
Step-by-Step Guide
The first step is to paint the legs. Start by unscrewing the tabletop from the legs. Place the legs on a surface where you can spray paint safely.
Spray an even coat of matte black paint on all sides of the legs. Let the paint dry completely before you touch them.
Just painting the legs a new color makes the table look much more expensive and polished.
The next step is to cover the top. Unroll the marble contact paper and peel off the backing paper.
Carefully place the sticky side down onto the tabletop. Smooth it out as you go to avoid wrinkles.
Use your hand or an old credit card to push out any air bubbles. Start from the middle and push toward the edges.
Once the top is smooth, fold the extra paper over the edges and underneath the table. Use your utility knife to trim off any extra paper.
Now you need to reattach the legs. After the paint on the legs is completely dry, screw them back onto the tabletop.
Your table already looks sleek and modern. The black legs and marble top make it look like a new piece of furniture.
You can also add extra details if you want. You can add small brass caps to the bottom of the legs for a modern touch.
You can glue a decorative knob to the side to make it look like there is a drawer. You can add a thin wood trim around the edge of the tabletop for more detail.
Time, Skill, and Cost Estimates
This project takes about forty-five minutes to finish. The skill level needed is perfect for a beginner. The total cost for materials is under twenty-five dollars.
By following these simple steps, you can change a plain table into something that looks much more expensive and personal.
Avoid These Common Mistakes
Do not paint without using a primer first. IKEA furniture has very smooth surfaces. Paint will easily peel off if you do not use a special primer first.
Do not use hot glue on particleboard. It will not hold the pieces together for long. You should use strong wood glue or construction adhesive instead.
Do not forget to sand the surface. A quick sanding with fine sandpaper helps the paint stick much better and last longer.
Do not put too much weight on IKEA shelves. Many pieces have hollow cores inside. They can sag or break if they hold too much weight.
Do not drill holes without measuring first. One wrong hole can split the wood or be in the wrong spot and ruin your project.
Do not rush the drying time. Paint and glue need enough time to become completely dry and hard. If you are too quick, your project will not be durable.
Conclusion to Hacking IKEA Furniture in 2025
You do not need to be an expert to try your first IKEA hack. You do not need a workshop full of tools.
Start with a simple project. Paint a table, upgrade a shelf, or just change the knobs on a dresser.
Once you try it, you will see how easy and fun it can be. Do not worry about making it perfect.
Do-it-yourself projects are about trying new ideas and learning from mistakes. The goal is not to impress other people.
The goal is to make your home reflect your own style. Take your time and follow the steps. Enjoy the process of creating.
The more you experiment, the more confident you will become. Soon, your home will be filled with pieces that you did not just buy.
You made them better and truly your own.