24 Homeschool Organization Ideas for 2026
Homeschooling is a rewarding journey, but staying organized can be a big challenge. With books, supplies, and schedules everywhere, it can be hard to create a setup that works well for both kids and parents. An organized space does more than just look nice. It helps everyone focus better, lowers stress, and makes learning days more productive and fun.
This article shares 24 creative and practical ideas to help you organize your homeschool space.
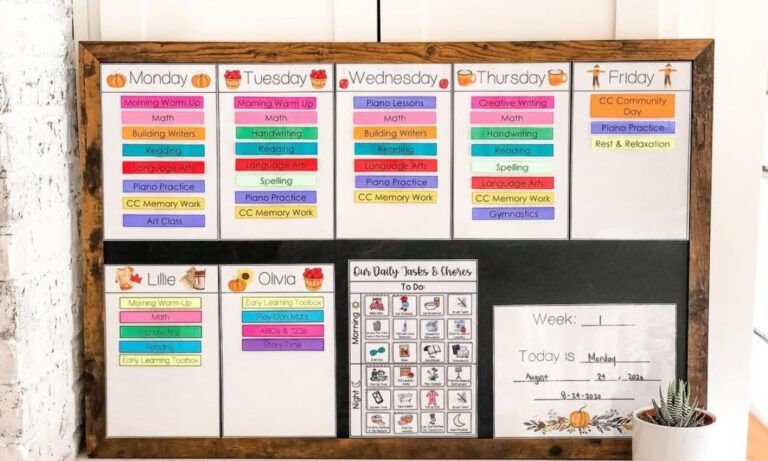
Use a Visual Schedule
A visual schedule is a strong tool for homeschool organization. It turns the day into a clear and manageable flow. It helps both parents and kids stay on track by showing daily tasks. This cuts down on confusion and sets clear expectations. Younger children do especially well with visual cues. These cues make routines simpler and help kids switch between activities more easily. You can customize a visual schedule to fit different learning styles. It can include various subjects, free time, or special projects.
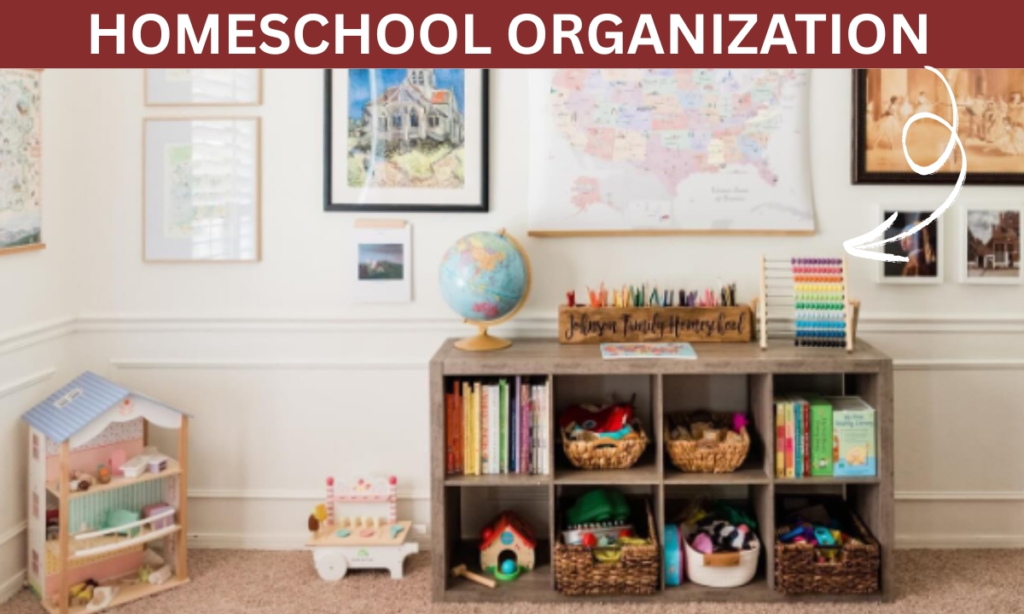
Homeschool Organization
Learning Tools Bins
Make switching activities easy with clear rolling carts. Use labeled bins to hold hands-on tools like counting blocks, pattern blocks, and playdough. Bright labels and see-through bins help kids find materials quickly. They also encourage kids to put things back on their own. This setup supports tidy habits and smooth transitions between activities. It keeps the learning space neat and efficient.

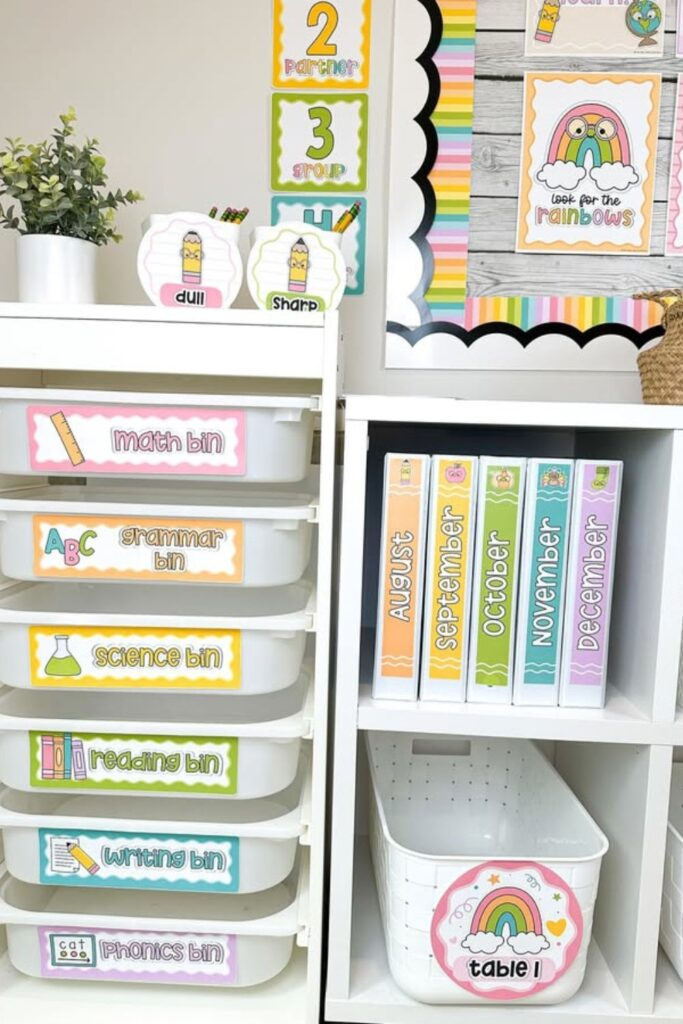
Subject-Sorted Drawers
Make materials simple with a tall drawer unit sorted by subject. Use drawers for math, science, reading, and more. Put clear labels and color-coded icons on each drawer. This mixes function with style. Keeping subjects separate makes daily routines smoother. It cuts down on preparation time and creates a structured, nice-looking system.
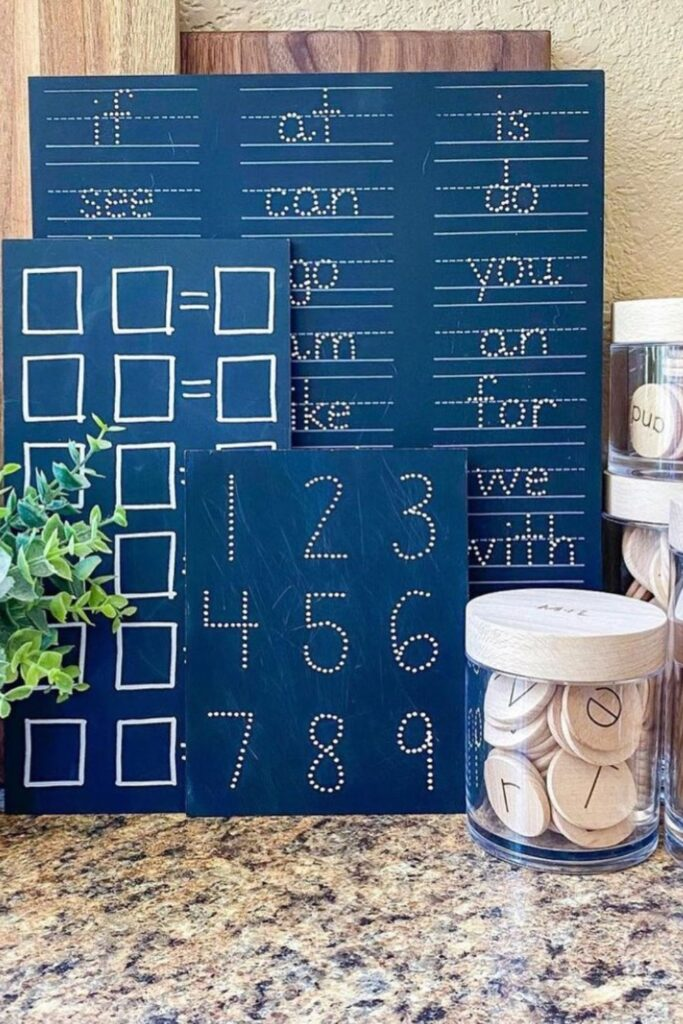
Chalkboard Learning Boards
Create a hands-on learning center with black tracing boards. Use them to display words, numbers, and math visuals. These boards often have dotted guides for practice. They work well for early readers and math learners. These touch-friendly boards encourage active participation. Store wooden letter discs in neat jars nearby. This mixes function with a Montessori-inspired look. It creates a learning area that is practical, organized, and visually pleasing.
Weekly File System
Make your planning easier with a labeled file box. Use folders marked Week 1 through Week 31. Fill each folder with the lesson plans, worksheets, or reading logs for that week. On Monday, just take out the folder you need. This system lets you prepare the entire year in advance. It frees you from daily stress about materials. It keeps everything moving smoothly and in order.

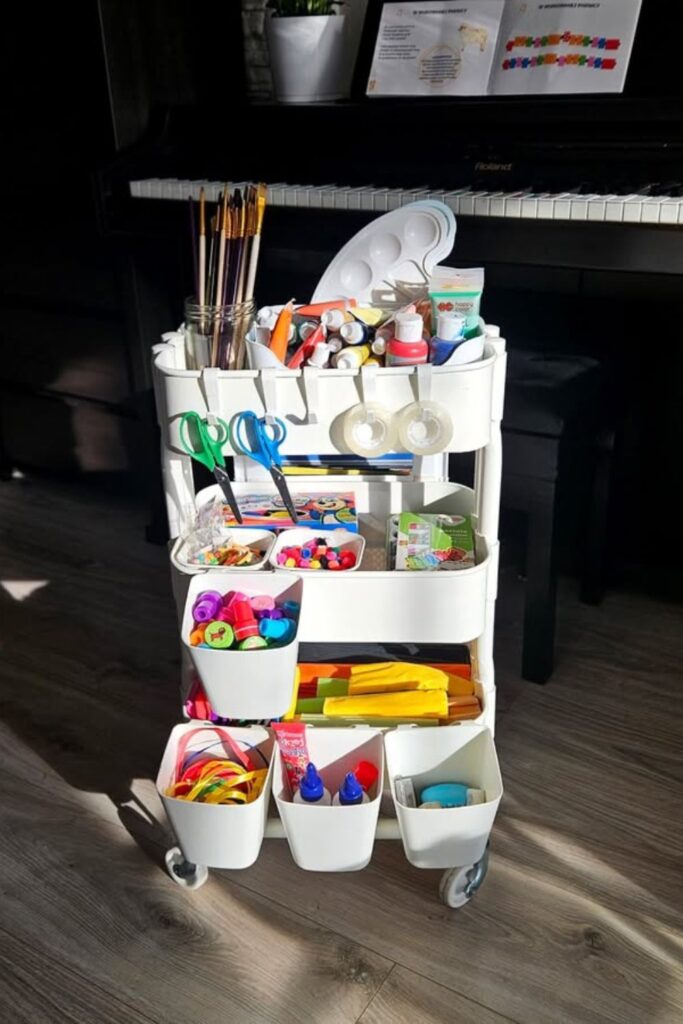
Rolling Art Cart
Bring creativity to any room with a tiered rolling cart. Fill it with paints, brushes, glue, scissors, and more. Use small bins and hanging cups to keep everything tidy and easy to see. Because it has wheels, you can move the cart from one space to another easily. You can switch between art time and cleanup without trouble. This setup encourages creativity while keeping the area organized and free of clutter.
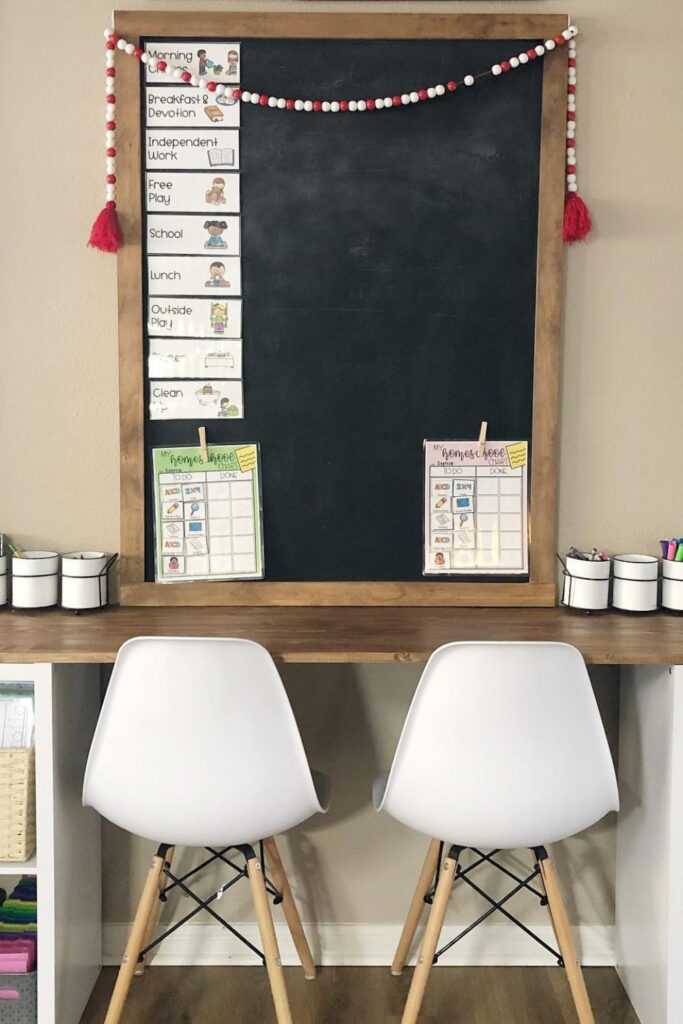
Dual Workstation Setup
Encourage teamwork and focus with a workspace that has two chairs facing a desk. Put a large blackboard schedule on the wall above. Use small supply holders and labeled baskets below for structure and easy access. This design creates a welcoming learning zone. The schedule helps maintain a daily routine and makes tasks easier to handle.
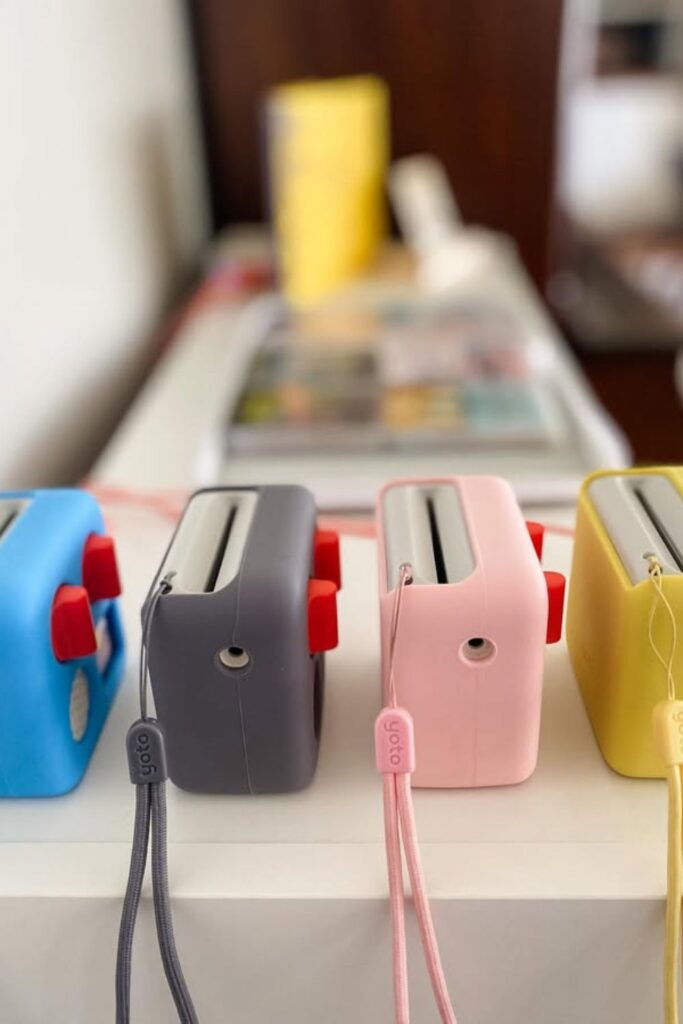
Compact Audio Stations
Set up a fun listening area with small, brightly colored audio players. Arrange them neatly and add labels. These players offer screen-free storytelling and audio learning. They are great for use alone or with others. Keeping them organized on a ledge makes them easy to get to. It also prevents tangled charger cords. This turns audio learning into a simple, hassle-free experience.
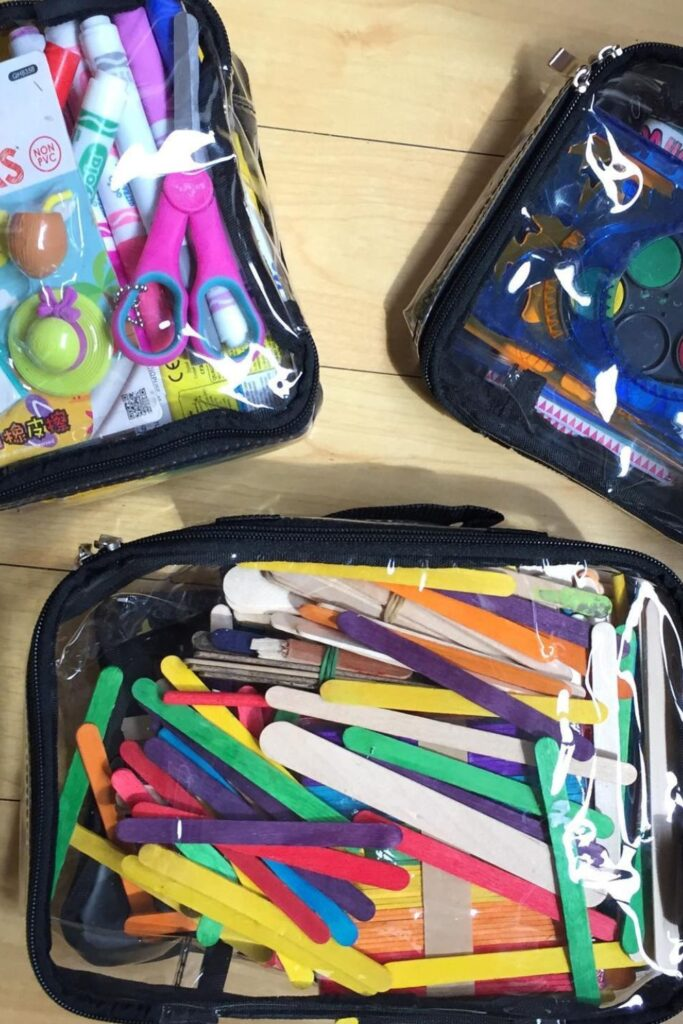
Clear Supply Pouches
Get organized with see-through zippered pouches. Use them for items like craft sticks, markers, and scissors. The clear design lets kids see what is inside right away. This reduces time spent searching. Group supplies by what they are used for or by theme. This keeps everything easy to carry for learning on the go. This setup is a stress-free way to stay neat and encourage productivity.
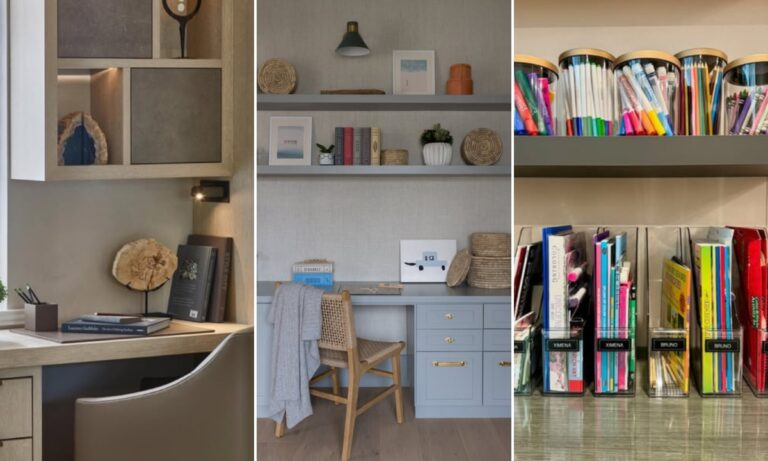
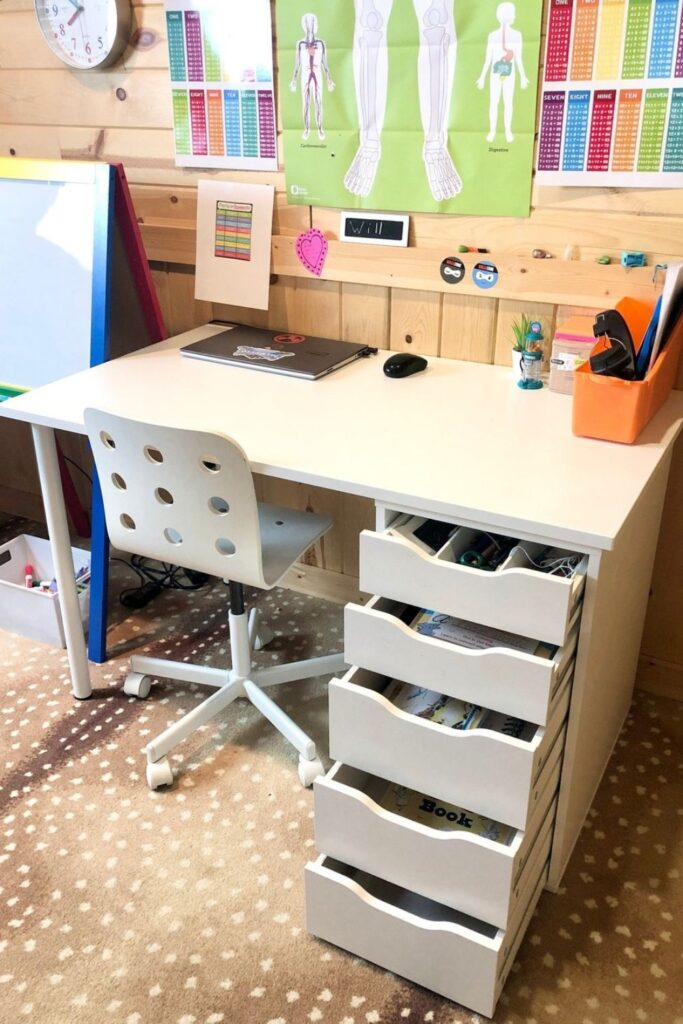
Drawer Desk Setup
Support independent learning with a simple desk that has built-in drawers. Use the drawers to store workbooks and supplies in an organized way. When you pull a drawer out slightly, you can see everything inside clearly. This makes access simple. Add reference posters on the wall above the desk. Place a dry-erase easel nearby. This creates a central, well-equipped study area. This setup keeps materials close and supports focused, clutter-free learning.
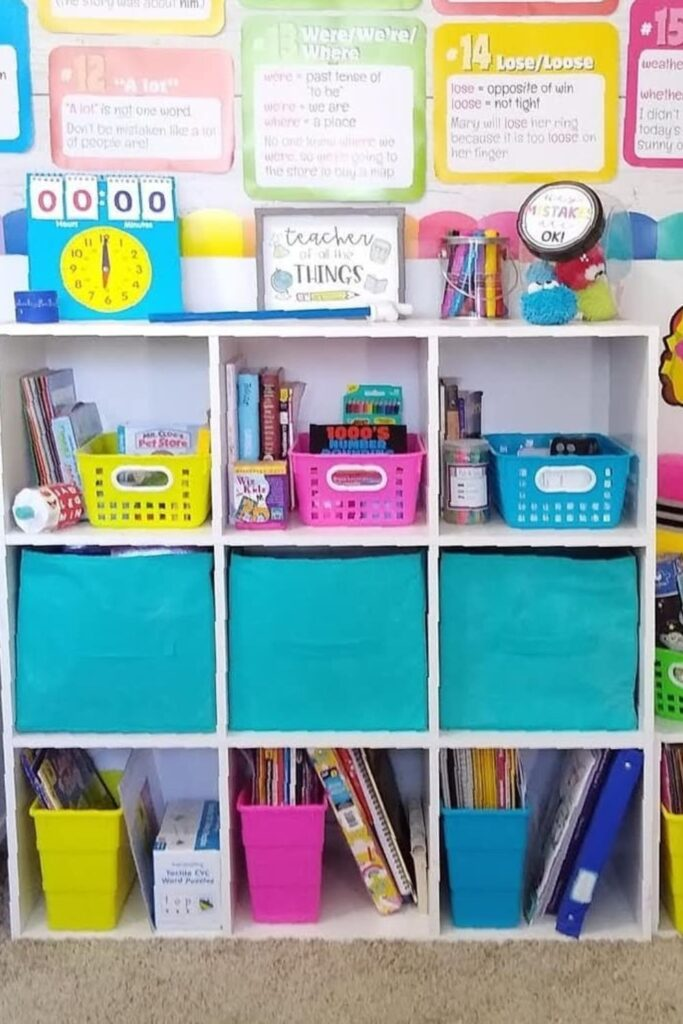
Cubby Storage Wall
Create bright, cheerful organization with a cube shelf unit. Use colorful bins and baskets in the cubbies for books, activities, and learning tools. Each cubby can have a specific job. This promotes tidy habits and adds happy energy. Put wall charts above the shelf to help with grammar or vocabulary. This uses both shelf and wall space for interactive learning.
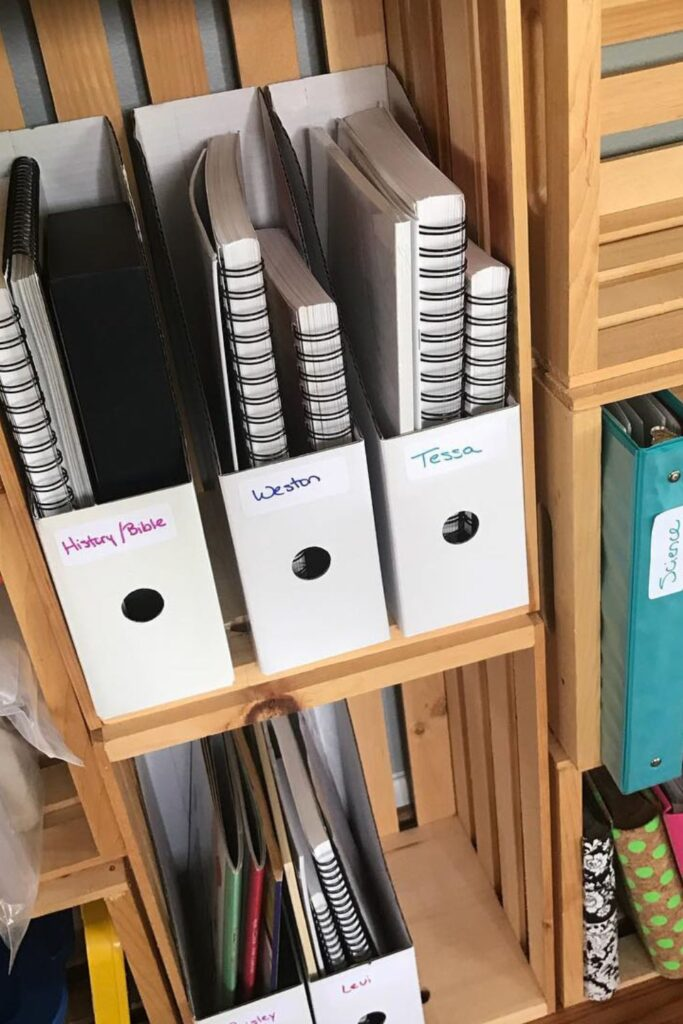
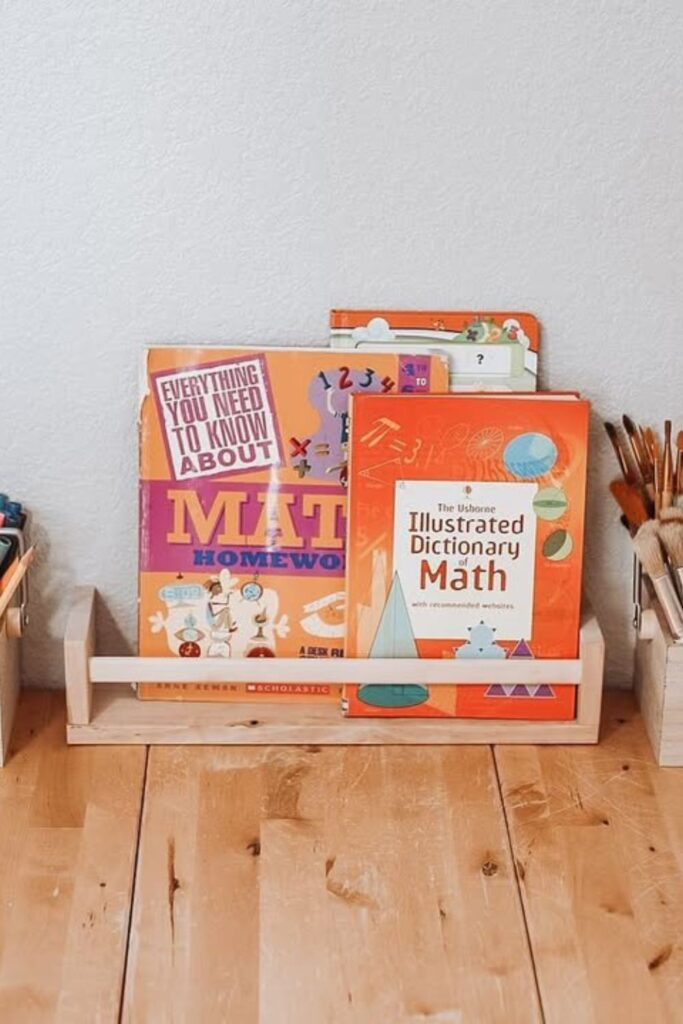
Vertical Magazine Files
Keep papers organized with labeled magazine holders on a wooden shelf. These upright files are perfect for spiral notebooks and folders. Sort them by subject or by student name. This system is great for small spaces. It makes sure materials stay neat, easy to reach, and organized. It works very well for families with more than one student.
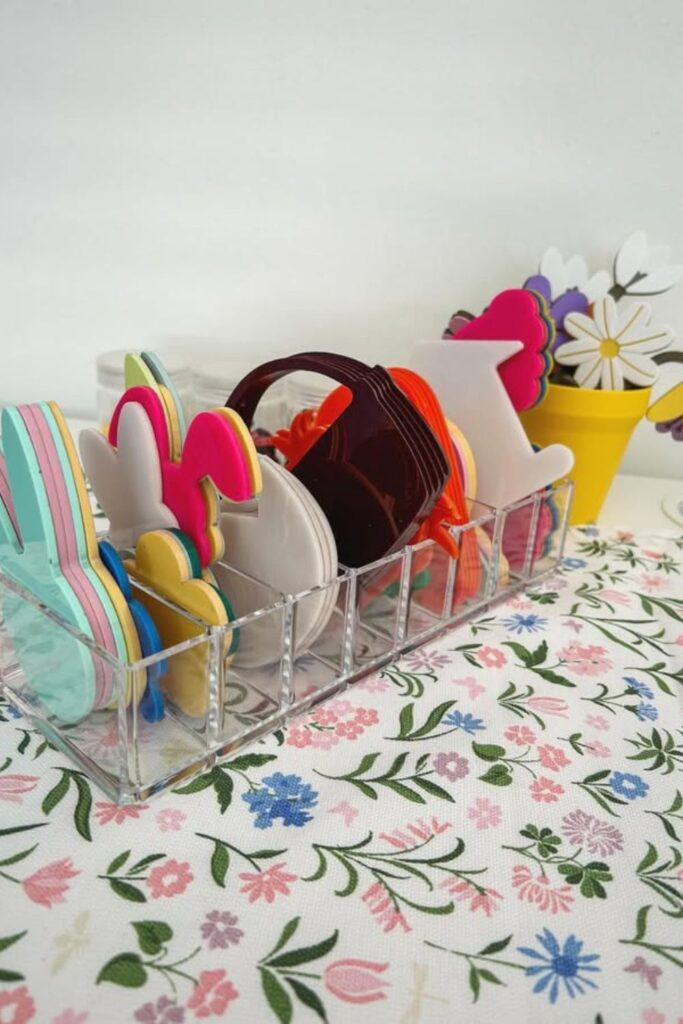
Thematic Organizer Tray
Keep seasonal and themed learning materials organized with a clear, sectioned tray. Use it to store foam cut-outs, craft shapes, or storytelling props. The see-through design makes items easy to spot and grab. Changing what is in the tray by topic or season keeps the learning environment fresh and interesting.
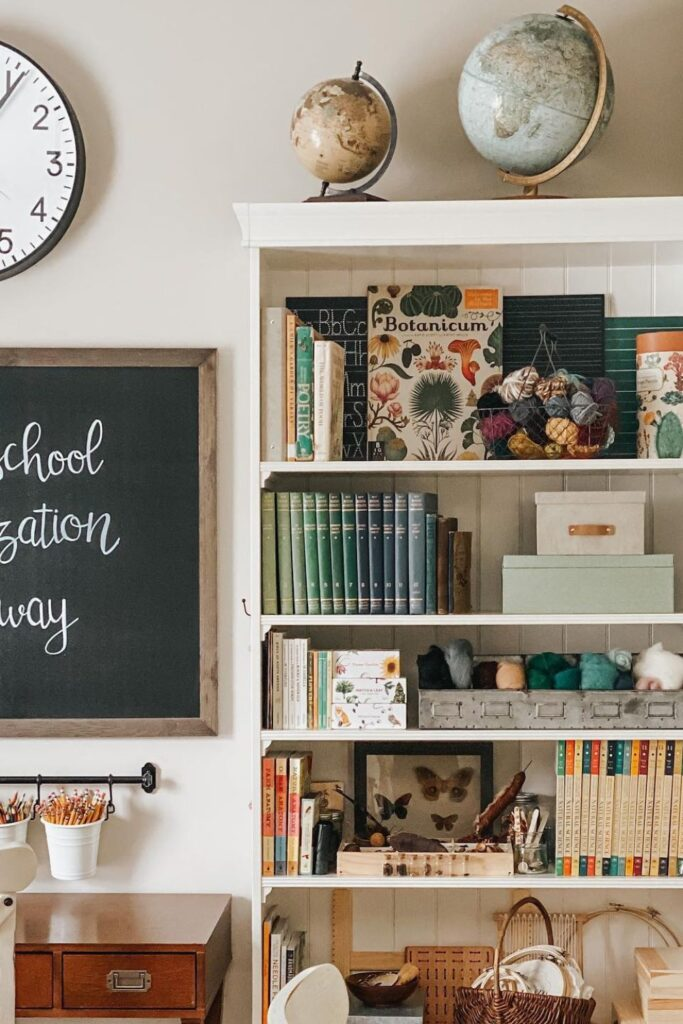
Bookshelf Corner
Turn a corner into a learning nook with a tall bookshelf. Display classic books, globes, and hands-on science items like butterflies and yarn. Organize everything by category carefully. This lets learning tools also act as decoration. Use labeled storage boxes to hide clutter while keeping items within reach. This mix of function and style sparks curiosity and keeps resources handy.
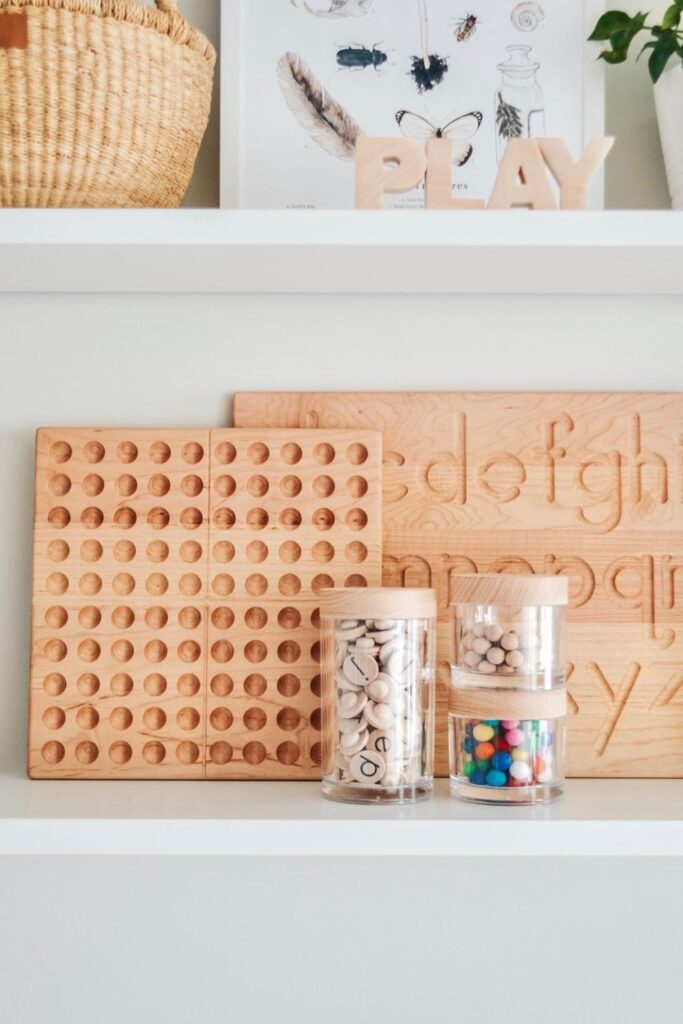
Wooden Learning Shelf
Design a calm learning space with a simple white shelf. Use natural wood learning tools like letter tracing boards, ten frames, and sorting jars. The neutral colors help keep the space peaceful. Labeled jars and careful spacing promote order and focus. This setup is perfect for Montessori learning. It works well for young learners or those who are sensitive to too much stimulation.
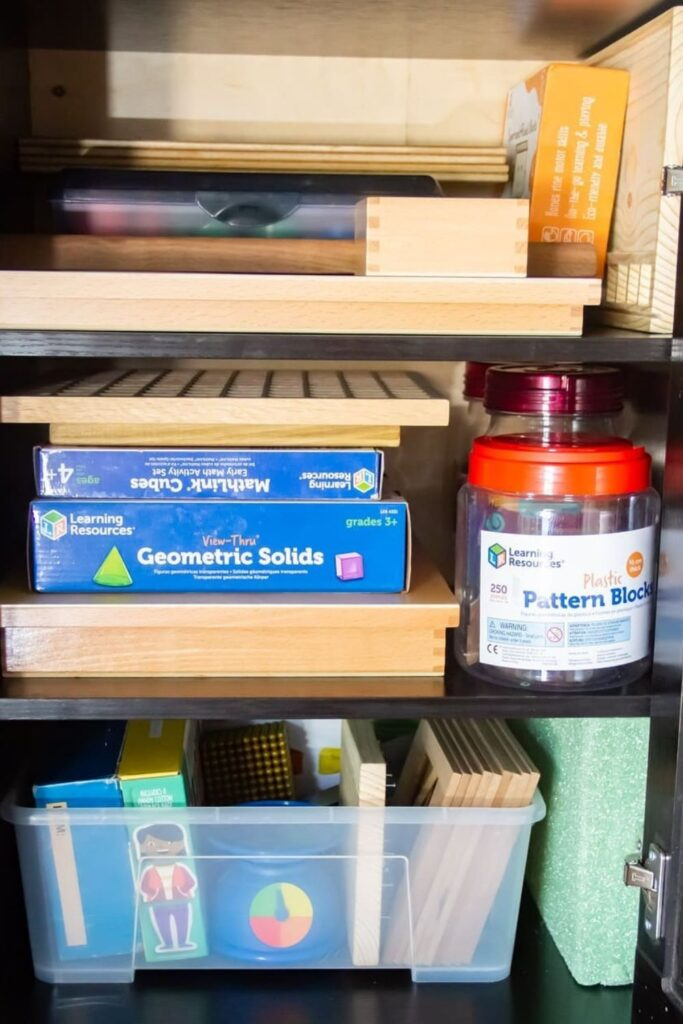
Cabinet Material Storage
Keep learning supplies behind cabinet doors for a clean look. Use the bottom shelves for bigger items like math kits and geometry solids. Place thinner wood trays on the upper shelves. This setup reduces visual clutter. It provides a clean, structured system for all kinds of tools and activities.
Open Tabletop Caddies
Encourage easy access and organization with wooden caddies on a table. Divide them by what they hold. Put markers and brushes in one, books in another, and paints in a third. This simple zoning keeps everything in order. It makes it easy for kids to grab what they need and put supplies back after a lesson.
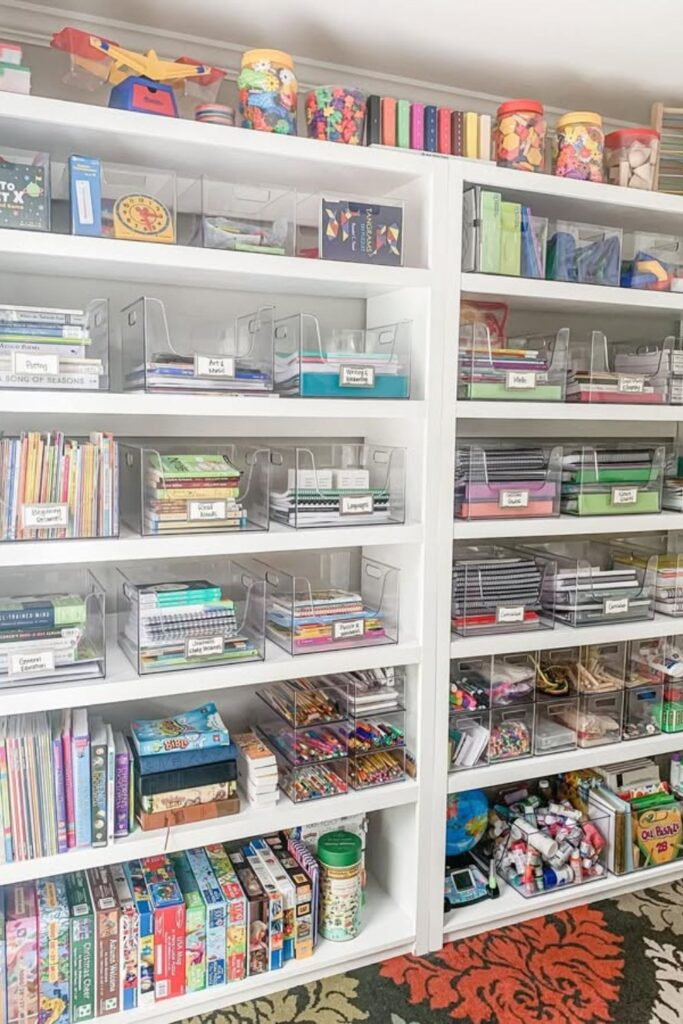
Clear Bin System
Get the most out of organization with a full wall of bookshelves. Fill them with clear plastic bins. Label each bin for a subject like math, art, phonics, or writing. Stack the bins neatly by category. Store bigger items like abacuses and linking cubes on the top shelf. Put supplies and board games on the lower shelves. This ensures everything is visible, easy to reach, and simple to restock.
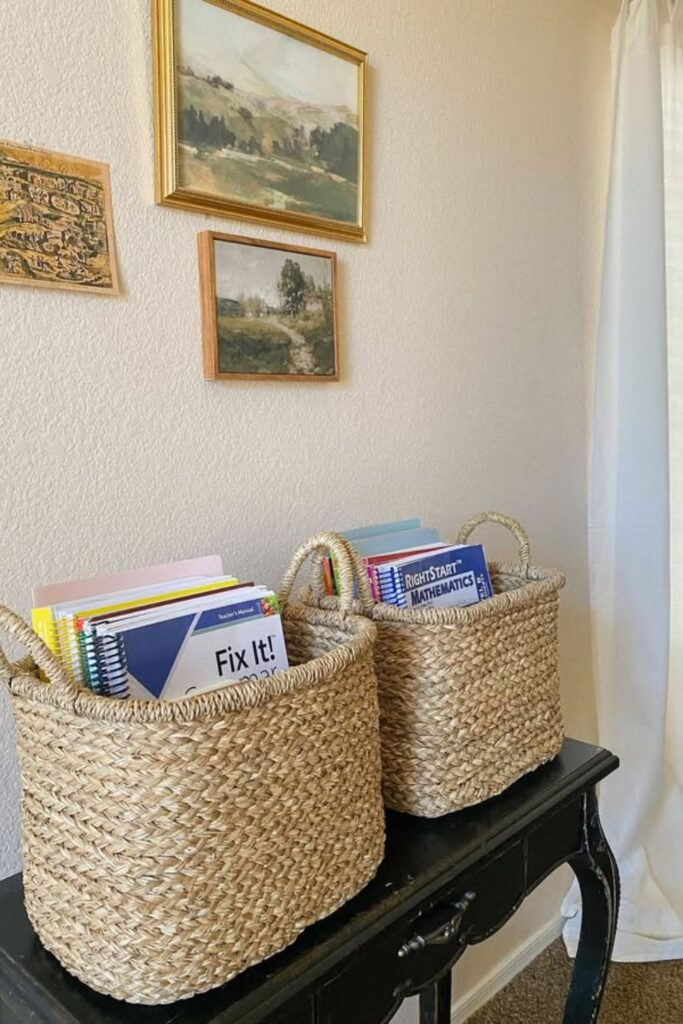
Basket Book Holders
Mix style and function with woven baskets on a console table. They are perfect for keeping curriculum books standing up and sorted by subject. This decorative solution is also a practical way to store materials. It makes daily lessons run smoother. These baskets work well for families with multiple students. They fit into home decor nicely while staying very useful.
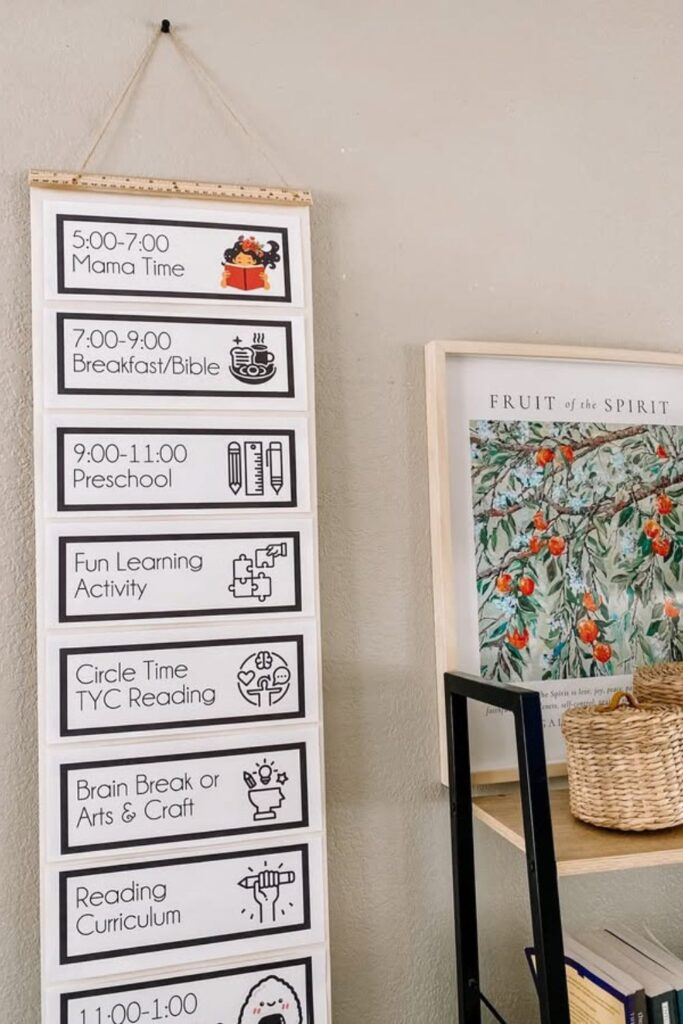
Visual Daily Schedule
Make routines simple with a vertical wall chart. It should outline the homeschool schedule by hour using words and pictures. Its large, clear design helps kids follow along on their own. This reduces the need for constant reminders. This visual tool is perfect for younger learners. It sets a calm and predictable tone for each learning day.
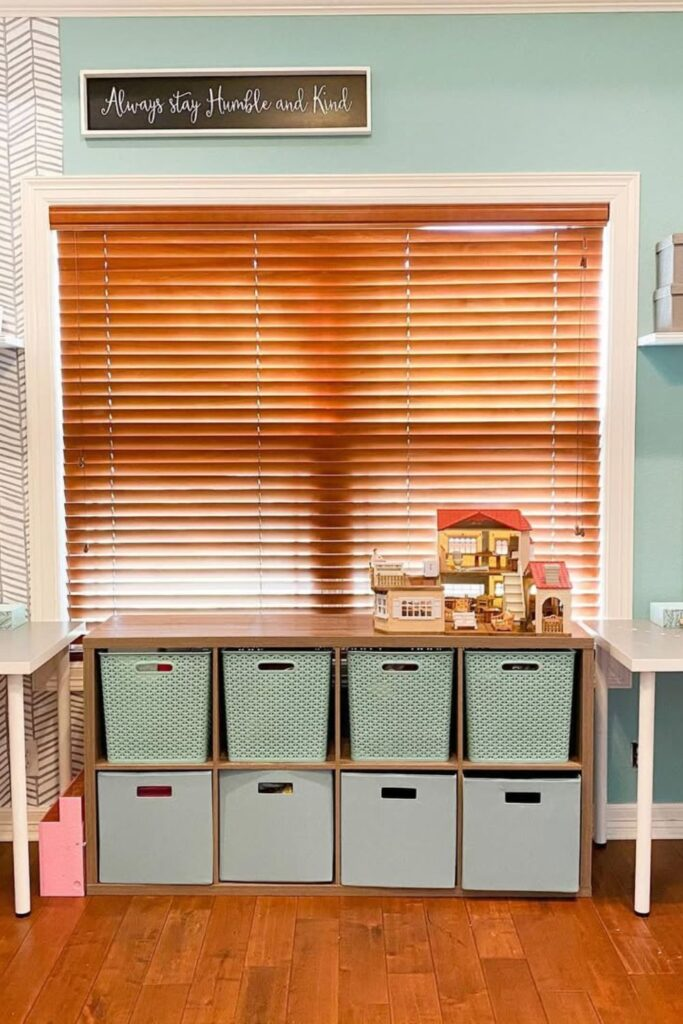
Twin Desk Setup
Encourage focus and working together with two white desks. Place them on either side of a central cubby shelf. The shelf should have color-coded bins to keep resources organized and within reach. This setup gives each person their own study area. The shared storage supports teamwork. It is ideal for siblings or for teaching different grade levels at once.
Mixed Shelf Wall
Make the most of a small homeschool space with floating white shelves. Combine them with a low cubby unit below. Store curriculum binders, trays, and decorations on the upper shelves. Put puzzles, printers, and learning games in the lower cubbies. This setup smartly divides long-term storage from everyday items. It makes everything accessible yet well organized.

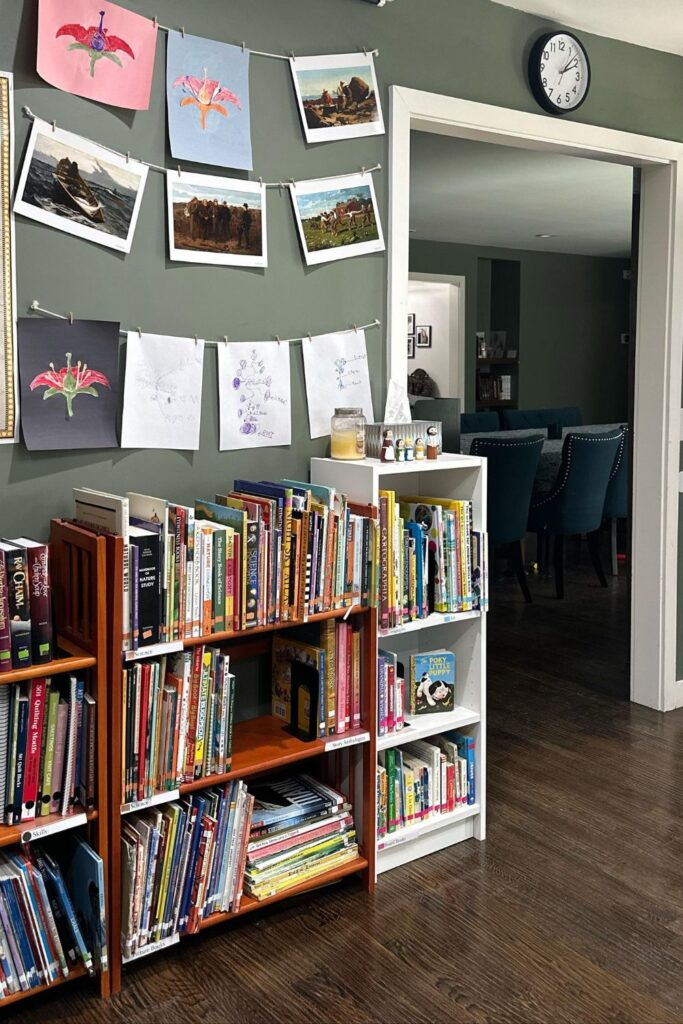
In-Home Library
Create a cozy library nook with bookshelves covering the wall. Fill them with reference books, readers, and other materials. Add a personal touch by hanging student art above the shelves with clothespins. This celebrates their creativity. This comfortable corner mixes a relaxing reading area with a rotating display of achievements. It inspires both learning and pride.
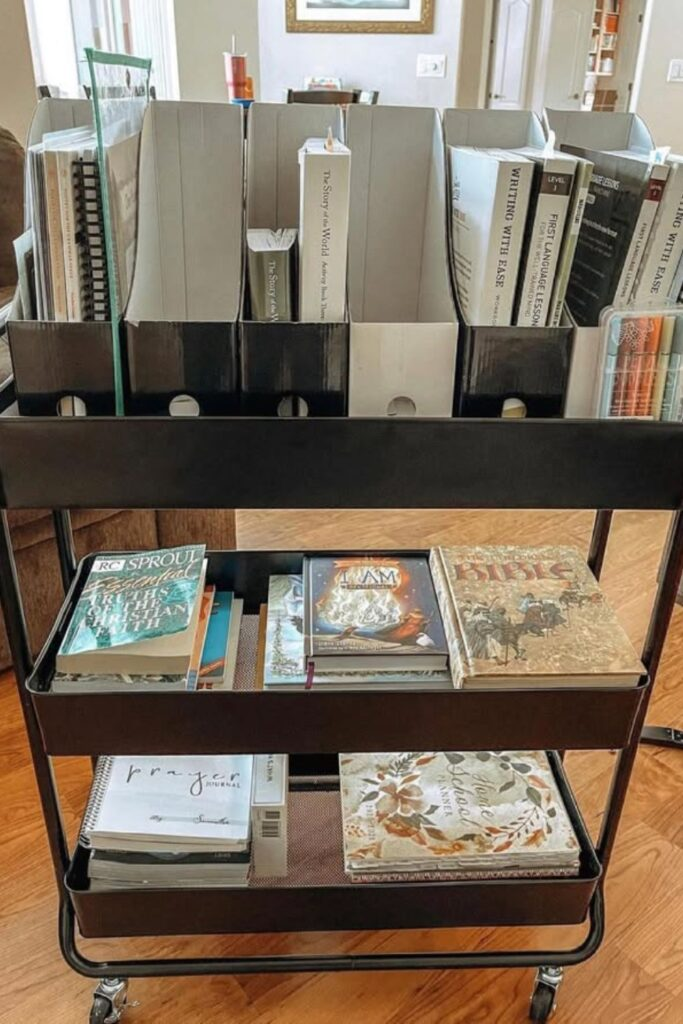
Rolling Resource Cart
Make teaching tools easy to manage with a dark, three-tier rolling cart. Fill its shelves with labeled magazine files, books, and notebooks organized by subject. Use the top tier for curriculum, the middle for core subjects, and the bottom for journals. Because it rolls easily, this cart is a flexible, all-in-one resource station for any room.
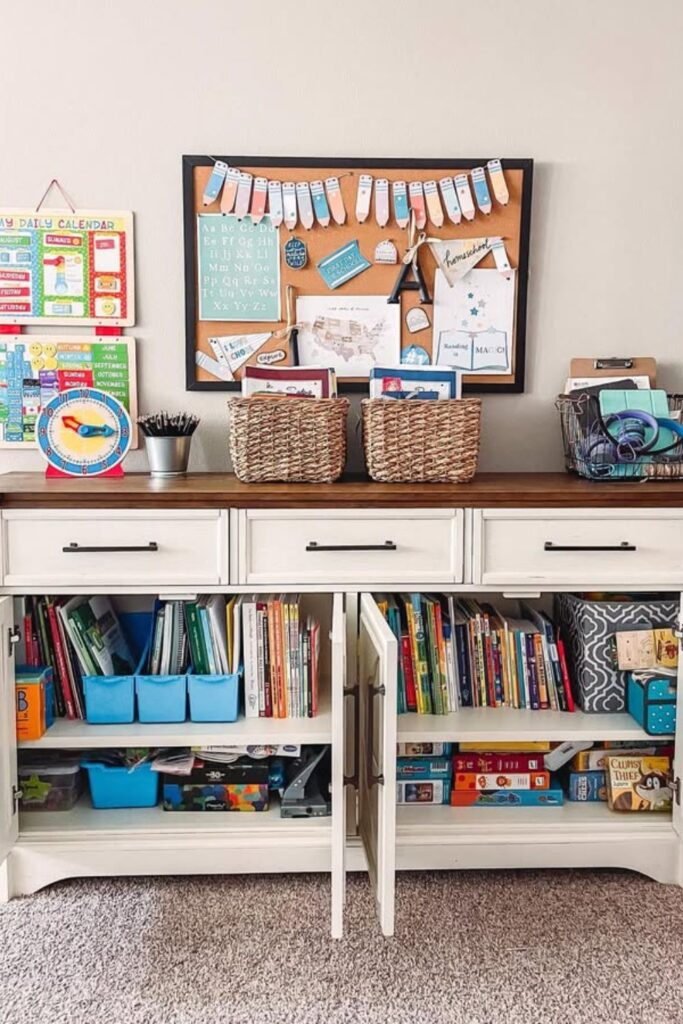
Multi-Function Sideboard
Combine style and storage with a farmhouse-style sideboard. It neatly hides homeschool supplies behind its cabinet doors. Inside, use bins and baskets to organize books, games, learning tools, and flashcards. On top, use woven baskets to keep the current curriculum close. Add a wall-mounted calendar and corkboard to create a handy planning station. This versatile setup blends into living spaces beautifully. It delivers maximum function and keeps organization clutter-free.