How to Make a DIY Backpack – Step By Step Guide
Have you ever had a backpack that fell apart too quickly?
The straps might have ripped or the zipper broke.
This is why many people are now making their own bags at home.
When you Make a DIY Backpack your own backpack, you control everything.
You choose the fabric, the size, and the number of pockets.
You can design a simple daypack or a strong bag for travel.
This guide will walk you through the entire process.
You will end up with a backpack that is sturdy and unique.
It will also cost you less than buying a new one.
Materials You’ll Need to Make a DIY Backpack
You will need a few key supplies to make your backpack.
Get about one yard of strong outer fabric like canvas or twill.
You will also need one yard of lining fabric and one yard of fusible interfacing.
Foam or batting is important for padding the back and straps.
You need one long zipper for the main opening and a shorter one for a pocket.
Also, get webbing for the straps and hardware like sliders and D-rings.
Do not forget basic tools like scissors, pins, and a sewing machine.
You will need thread that matches your fabric and an iron.
Having everything ready makes the process much smoother.
Step-by-Step DIY Backpack Sewing Guide
Step 1: Gather and Cut Everything
Start by collecting all your materials on a large table.
Lay out your outer fabric, lining, interfacing, and foam padding.
Make sure you have your zippers, webbing, and hardware ready.
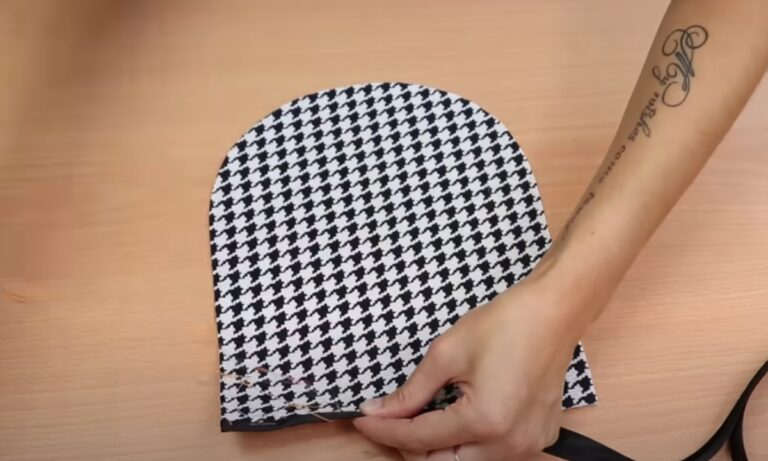
Next, cut all the fabric pieces to the right size and shape.
You need two main body panels, gussets for the sides, and a bottom piece.
Also cut pieces for the pocket, the straps, and the handle.
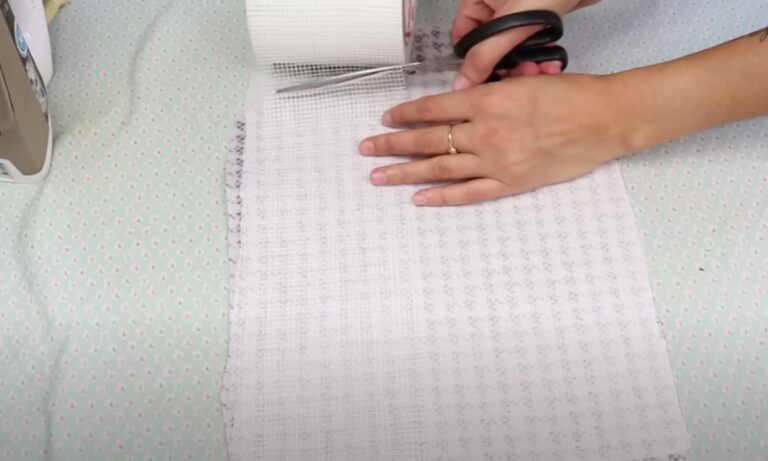
Iron the fusible interfacing onto the back of your outer fabric pieces.
This adds strength and body to your backpack fabric.
It helps the bag keep its shape over time.
Step 2: Build the Front Pocket
Take your two pocket pieces and your smaller zipper.
Sew one pocket piece to each side of the zipper tape.
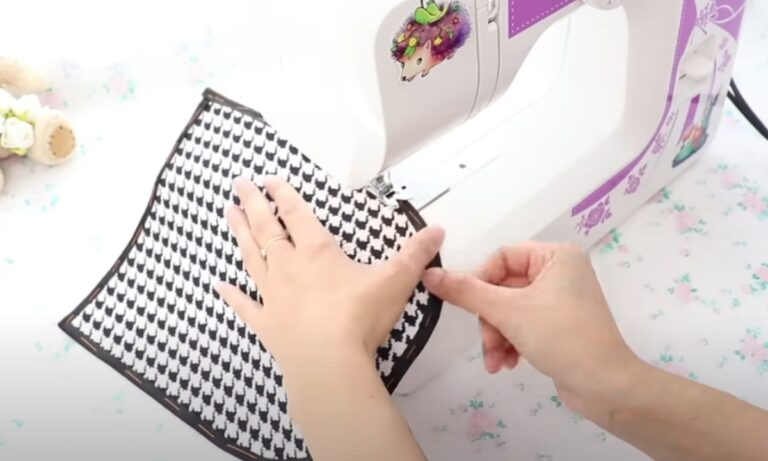
Then, flip the fabric so the right side is facing out and press it flat.
Sew a top-stitch along the edge of the pocket for a neat look.
This stitch also makes the pocket stronger and more durable.
Now, place this pocket unit onto your front panel.
Position the pocket a few inches down from the top edge.
Pin it in place so it does not move while you sew.
You will attach it to the front panel in a later step.
Step 3: Make the Handle and Strap Anchors
Take your short piece of webbing for the handle.
Fold the raw ends under to create a clean finish.
Sew the handle onto the top center of the back panel.
Use a strong box-shaped stitch to make sure it is secure.
For the straps, attach the slider hardware to the long webbing pieces.
Then, make two small tabs with D-rings sewn into them.
Sew these tabs to the bottom corners of the back panel.
If you want a comfortable bag, add foam to the back panel now.
This padding makes the backpack nicer to carry.

Step 4: Assemble the Gusset
The gusset is the piece that gives your backpack its depth.
Take the two side gusset pieces and the one bottom gusset piece.
Sew them together to form one long U-shaped strip.
Press the seam allowances open so the fabric lies flat.
This step is important for a professional-looking finish.
A flat seam makes the next sewing steps much easier.
Step 5: Build the Outer Shell
Pin the U-shaped gusset to your front panel first.
Clip small notches around the curves so the fabric does not bunch.
Sew the gusset to the front panel all the way around.
Now, attach the same gusset to the back panel.
Remember to sew over the strap anchors to reinforce them.
These points need to be very strong to hold the weight.

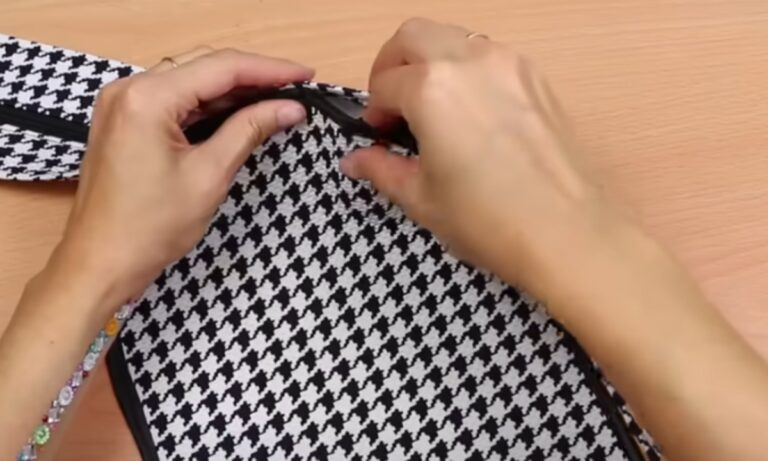
Step 6: Add the Main Zipper
Place the main zipper along the top edge of the bag.
Sew one side of the zipper tape to the front panel.
Sew the other side of the tape to the back panel.
The right sides of the fabric should be facing together.
Flip the zipper right side out and press the seam flat.
Sew a top-stitch along the edge to hold the zipper neatly.

Step 7: Sew the Lining and Join It In
Construct the lining for your backpack the same way you made the outer shell.
Sew lining panels to the gusset pieces to create an inner bag.
However, you must leave a gap in the bottom seam of the lining.
This gap is for turning the backpack right side out later.
Place the outer shell inside the lining bag, with right sides together.
Sew all around the top edge, connecting the lining to the outer shell.
Reach through the gap in the lining and pull the entire backpack through.
Now your backpack is right side out and the zipper is hidden.
Finally, hand-stitch the gap in the lining closed.
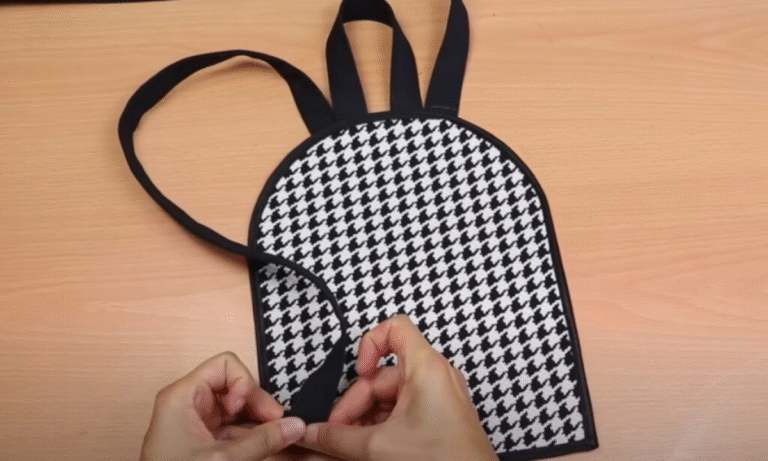
Step 8: Finish the Straps and Details
Attach the long straps to the D-rings at the bottom of the bag.
Thread the strap ends through the sliders to make them adjustable.
This allows you to change the length for a perfect fit.
Press all the seams with an iron for a crisp look.
You can add a top-stitch around the top edge for a clean finish.
Sew extra-strong stitches at all stress points like pocket corners.
Give your new backpack a final press with the iron.
Trim any loose threads hanging from the seams.
Your custom-made backpack is now ready to use.

What Are the Best Repair and Care Tips for a DIY Backpack?
Taking good care of your backpack helps it last for years.
If the zipper gets stuck, rub a bar of soap on the teeth.
For small rips, sew them up right away before they get bigger.
For a large tear, put a fabric patch on the inside and sew around it.
If the straps become loose, add another row of stitching to strengthen them.
You can also spray the fabric with a waterproofing spray.
Hand wash your backpack with mild soap to protect the seams.
Do not put it in a washing machine, as this can damage the hardware.
Let it air dry completely before you use it again.
Conclusion
Making your own backpack is a rewarding project.
You get a bag that is made exactly how you want it.
It is strong, useful, and reflects your personal style.
Start with good materials and follow each step carefully.
If you are new to sewing, just go slow and be patient.
You will end up with a backpack you can be proud of.
FAQs
Can I make a backpack without a sewing machine?
You can sew a backpack by hand if you do not have a machine.
You must use a strong thread and make very small, tight stitches.
However, it will take much longer and may not be as strong.
A sewing machine creates stronger and more even seams.
It is the better choice for a bag that will carry heavy items.
But a hand-sewn bag is still possible with a lot of effort.
How do I make my DIY backpack waterproof?
The easiest way is to start with a waterproof fabric.
Look for materials like nylon or polyester that resist water.
You can also buy a waterproofing spray at a fabric store.
Spray the entire outside of the finished backpack evenly.
Let it dry completely before you use it in the rain.
For the best protection, add a plastic liner inside the bag.amaging it.