How to Make a DIY Pegboard Tool Organizer – Ultimate Guide

Have a level on hand to help you place the board straight and even.
Pick a few hooks or bins to hold different tools once the board is mounted.
These small supplies make the whole setup easier and help everything stay secure and Make a DIY Pegboard Tool easily.
What You Need to Get Started
To begin your project, gather the items you need and choose a pegboard sheet that fits the space you want to organize.
You will also need wood strips or spacers so the board sits a little away from the wall.
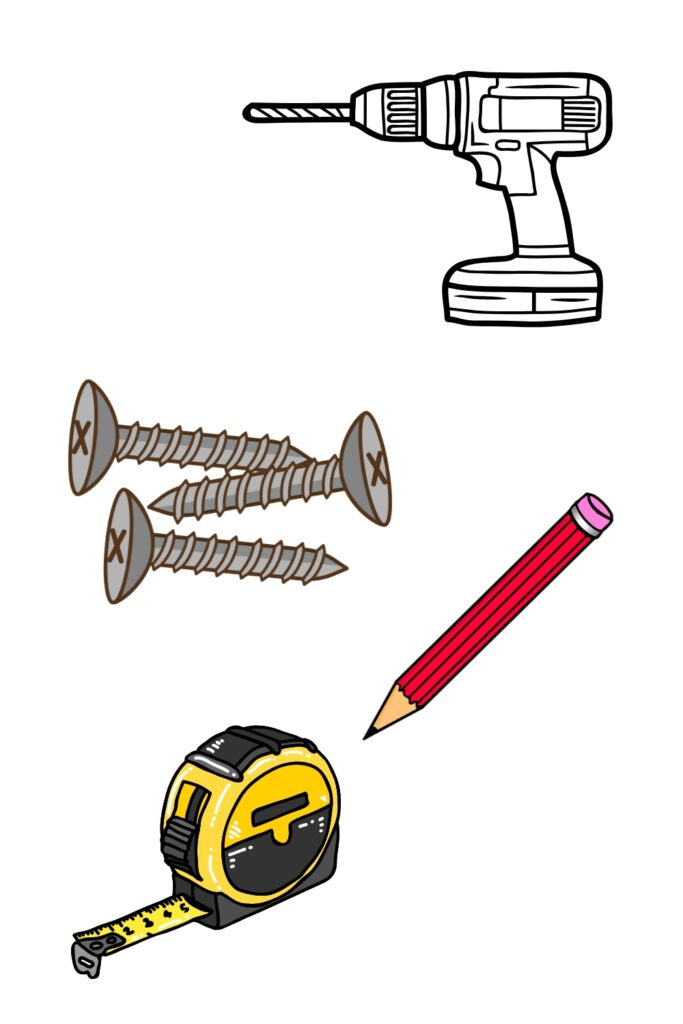
Collect screws, wall anchors, a drill, a screwdriver, a measuring tape, and a pencil so you are fully ready.
Have a level on hand to help you place the board straight and even.
Pick a few hooks or bins to hold different tools once the board is mounted.
These small supplies make the whole setup easier and help everything stay secure.
Step 1: Choose the Best Spot
Look for a wall or open space close to where you usually work.
Make sure you can reach it easily and that there is enough room for the pegboard and your tools.
Before drilling, check that the wall has no hidden wires or pipes.
Use a stud finder to locate the studs so the pegboard has a strong hold.
Choose a spot where you can see your tools clearly and grab them without bumping into anything.
Once you find the right place, you can move ahead with the next step.
Step 2: Prepare Your Pegboard and Wall
Measure both your wall and the pegboard to be sure they match the way you want.
If the board is too big, trim it to size with a saw so it fits the space neatly.
Mark the exact placement on the wall using a pencil.
Take your wood strips or spacers and screw them into the marked spots on the wall.
These strips create the open gap that allows hooks to slide into the pegboard holes properly.
Check that each strip is straight and level before you continue.
If you want to paint the pegboard, this is the best time to do it.
Let the board dry fully so the paint does not smudge when you hang it.
When both the board and wall are ready, you can move on to mounting it.
Step 3: Mount Your Pegboard
Hold the pegboard up against the wall and line it up with the wood strips beneath it.
Use your level again to make sure the board is straight before you add any screws.
Start drilling screws through the board into the wood strips at the corners and along the sides.
Place screws every twelve to sixteen inches so the board stays flat and firm.
Gently check if the pegboard feels steady and secure after you tighten each screw.
If it wobbles at any point, add or tighten the screws until everything feels solid.
Now the board is firmly mounted and ready for your hooks and tools.
With the surface in place, you can begin shaping your tool layout.
This is when the organizing part starts to get fun.
Step 4: Pick the Right Hooks and Accessories
Begin choosing hooks and holders that match the tools you own.
Straight hooks are useful for hammers and screwdrivers, while curved hooks work well for pliers or tape.
Small bins are helpful for tiny items like nails, screws, or drill bits.
Look closely at your tools and pick hook styles that fit their size and shape.
Metal hooks are a better choice than plastic ones because they are stronger and last longer.
Start with only the basics so you do not feel overwhelmed with too many pieces.
You can always add more hooks or special holders later as you learn what you need.
Keep your setup simple at first so you can adjust it easily.
A clean and flexible layout will help you organize faster.
Step 5: Organize Your Tools
Place similar tools together so everything feels tidy and easy to find.
Keep all your screwdrivers in one spot, group pliers in another, and line up wrenches side by side.
Put your most-used tools in the center so you can reach them quickly.
Heavier tools should go on the lower part of the board to keep the surface stable.
Use small bins for nails, bolts, and drill bits so nothing gets lost.
Try to keep bins close to the tools they belong with so everything makes sense.
If you have limited space, hang only the tools you use often and store the rest elsewhere.
When your collection grows, shift hooks and bins to fit new items.
The pegboard makes moving things around simple whenever you need to.
Step 6: Keep It Tidy and Up-to-Date
Make a habit of putting each tool back on its hook as soon as you finish using it.
This keeps your board clean and saves time later when you need the same tool again.
A neat board also helps you stay focused on your work.
When you buy a new tool, find a spot for it right away.
Do not leave items sitting on your workbench or piling up in random places.
Keep your setup fresh by adjusting hooks whenever you notice a better arrangement.
Every few weeks, take a moment to look over your pegboard and make small changes.
These simple updates prevent clutter from building up again.
A tidy setup stays useful and makes your work feel smoother.
Common Mistakes and How to Fix Them
Some people run into problems when setting up their pegboard for the first time.
A crooked board is common, so always use a level before drilling or mounting.
If the pegboard feels loose or shaky, make sure you screw into studs or use strong wall anchors.
Avoid placing too much weight at the top of the board.
Heavier tools should be hung lower or closer to the supports to prevent strain.
If hooks fall out easily, try a different style or push them in more firmly for a tighter fit.
Never skip adding spacers or wood strips behind the board.
Without them, hooks will not sit correctly, and tools may not hang well.
Always double-check for wires or pipes before drilling to avoid damaging anything in the wall.
Real-Life Benefits You’ll Notice
You will spend far less time searching for tools because everything has a clear place.
This helps you work faster and keeps your projects moving without delays.
A neat pegboard layout also makes your workspace look cleaner and more professional.
With tools off the bench and the floor, you gain more open space to work.
A clear area reduces clutter and helps you stay focused on the task in front of you.
You also avoid buying tools you already own since you can see everything in one view.
Your projects will feel easier to finish when your tools are well organized.
You will not pause to look for missing items, which keeps your workflow steady.
A clean space also makes work feel less stressful and more enjoyable.
Conclusion of Make a DIY Pegboard Tool
A pegboard tool organizer is a simple way to bring order to a messy workspace.
You do not need special skills or expensive equipment to set it up the right way.
With a little time and the steps above, you can turn a cluttered wall into a neat and helpful tool station.
When you see your tools hanging neatly, you will feel more ready to take on new projects.
You will spend less time searching and more time building or fixing things.
If you want a smoother work routine, this is a project worth starting today.