Make Your Own Closet Shoe Rack Like a Pro

Let’s be honest, shoes all over the closet floor are a real problem.
You spend too much time looking for a matching pair every morning.
Some shoes get crushed under others, and they all collect a lot of dust.
Store-bought shoe racks often do not work well for your space.
They might be the wrong size or break after just a few months.
This is why building your own rack is a much better solution.
You can create a rack that fits your closet perfectly.
You do not need expensive tools or a lot of experience.
With a good plan and some basic materials, you can do it yourself.
Why You Need a DIY Closet Shoe Rack
Your shoes are probably scattered and difficult to find.
A store-bought rack might not fit or could be weak and flimsy.
Building your own rack solves these common problems.
A custom rack uses all the space in your closet wisely.
You can design it to hold exactly how many shoes you own.
It will be stronger, cheaper, and will keep everything tidy.
Tools and Materials You’ll Need
Get all of your supplies together before you start building.
You only need simple tools and easy-to-find materials.
This makes the project straightforward for anyone to try.
Tools:
You need a tape measure to get the right closet dimensions.
A pencil and level will help you mark straight and even lines.
A drill is necessary for putting all the pieces together.
A saw is used to cut the wood to your desired sizes.
A screwdriver is for driving in all the screws.
Clamps are helpful to hold wood steady while you work.
Materials:
Plywood or boards will form the shelves of your rack.
Small wood strips are used to support the shelves from below.
Wood screws are what hold the entire structure together.
Wood glue can add extra strength to your joints.
Sandpaper smooths out any rough or sharp edges.
Paint or stain lets you customize the final look.
Measure Your Closet the Right Way
Good measurements are the first step to a successful project.
You need to know the width, depth, and height of your closet space.
This ensures your new shoe rack will fit perfectly inside.
Measure the width from one wall to the other along the floor.
Measure the depth from the back wall to the front opening.
Measure the height from the floor up to any hanging clothes.
Check for things that could get in the way, like baseboards or vents.
Then, figure out how many shelves can fit by dividing the height.
Use about eight inches between shelves for most types of shoes.
Choose a Shoe Rack Design That Fits Your Space
Pick a design that matches your closet’s shape and size.
The right plan makes the best use of the space you have available.
Here are three popular designs that work in different situations.
Slanted Shelf Rack (Best for reach-in closets)
This design has shelves that are set on a gentle slope.
The angle makes it very easy to see every pair of shoes.
It is a great choice for closets that are wide but not very deep.
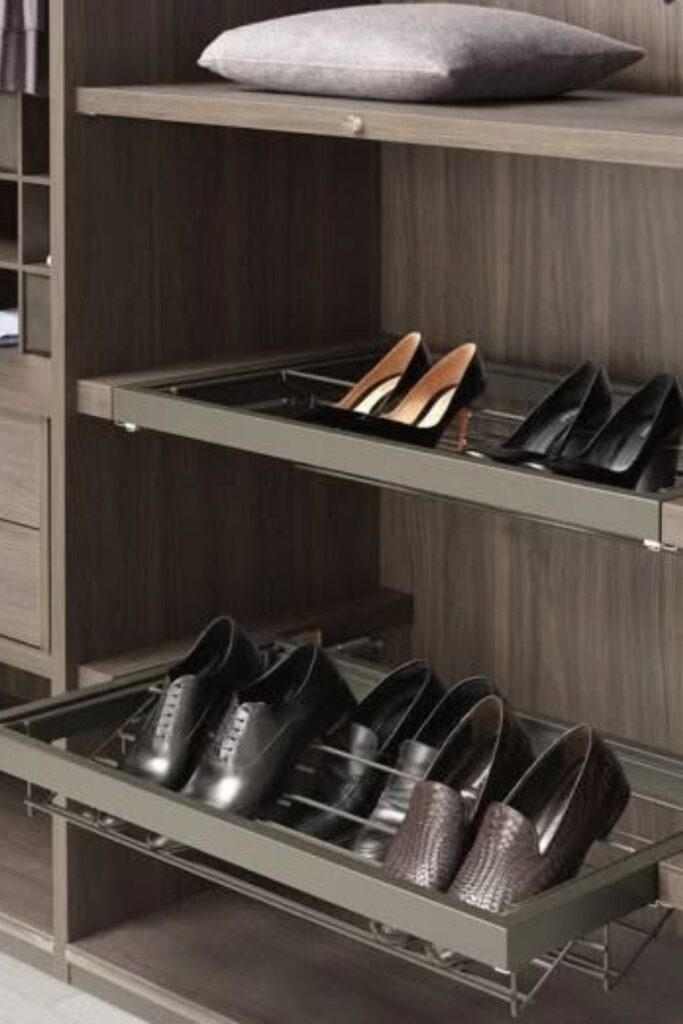
Cubby-Style Rack (Best for deep or corner closets)
A cubby rack has individual square slots for your shoes.
This gives your closet a very neat and organized appearance.
You can stack the cubbies high to use vertical space efficiently.
No-Drill Modular Rack (Best for renters and small closets)
This option uses things like stacking crates or fabric organizers.
You do not need to drill any holes or use tools to build it.
It is a perfect temporary solution for people who rent their home.
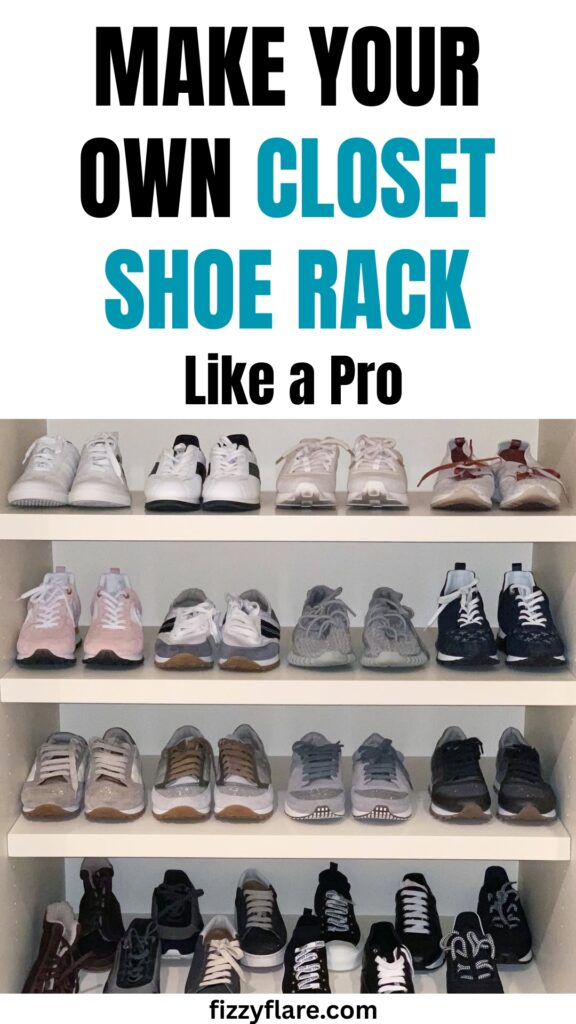
Step-by-Step: Build a Basic Wooden Shoe Rack
Follow these clear steps to build a simple and strong shoe rack.
This basic design with three shelves can hold many pairs of shoes.
You can adjust the size to fit perfectly inside your own closet.
Step 1: Cut the wood
Begin by cutting two pieces of wood for the sides of the rack.
Then cut three more boards that will become the actual shelves.
Also cut several small strips of wood to use as shelf supports.
Step 2: Mark shelf positions
Take your two side panels and lay them flat on the ground.
Use a pencil and a level to mark where each shelf will go.
Make sure the marks are in the exact same spot on both panels.
Step 3: Attach support strips
Screw the small wood strips onto the marks you just made.
Attach them to the inside faces of the two side panels.
These strips will hold the weight of the shelves and the shoes.
Step 4: Add the shelves
Place each shelf board on top of its set of support strips.
Then screw down through the shelf and into the strips below.
This will lock everything into place and make the rack solid.
Step 5: Check for stability
Stand the rack up and make sure it does not wobble around.
Tighten any screws that might feel a little bit loose.
You can now sand any rough edges and add paint if you want.
How Many Pairs Will It Hold? (With Sizing Table)
It helps to know how many shoes your new rack can store.
The total number depends on your closet’s width and your rack’s design.
Use the table below to get a good idea of what to expect.
Shoe Capacity Estimate Table
A closet that is twenty-four inches wide is a common size.
A slanted rack here could hold around nine pairs of shoes.
A cubby rack might hold six pairs, and a crate setup about eight.
A wider closet of thirty-six inches offers more storage space.
A slanted rack here could hold twelve pairs of shoes easily.
A cubby rack could hold nine, and crates could hold up to twelve.
A forty-eight inch wide closet gives you the most room of all.
A slanted rack in this space can hold about fifteen pairs.
A cubby rack can hold twelve, and crates can hold sixteen.
Common Mistakes and How to Fix Them
Sometimes shelves are not level and shoes slide to one end.
You can fix this by checking your marks with a level before drilling.
Always mark both side panels at the same time to keep them even.
A wobbly rack can be annoying and might feel unstable.
The solution is usually to just tighten all of the screws.
You can also add small pads to the bottom of the legs.
Wood can sometimes split when you drive a screw into it.
The best way to prevent this is to drill a small guide hole first.
This makes it much easier for the screw to go in smoothly.
Long shelves might start to sag in the middle over time.
You can stop this by adding a support strip in the center.
This will make the shelf strong enough to hold heavy shoes.
Conclusion of Own Closet Shoe Rack
You do not need a lot of money to fix your shoe clutter problem.
A simple do-it-yourself rack can make your closet feel new.
It saves space, protects your shoes, and makes life easier.
Just pick the design that is right for your closet space.
Follow the building steps and take your time with the project.
You will be so happy with the results when you are finished.